
Lightroom Presets Showcase
This part of the website is dedicated to showcasing the Lightroom Presets. Each post will show one or more edits from start to finish, including a video overview of the process.

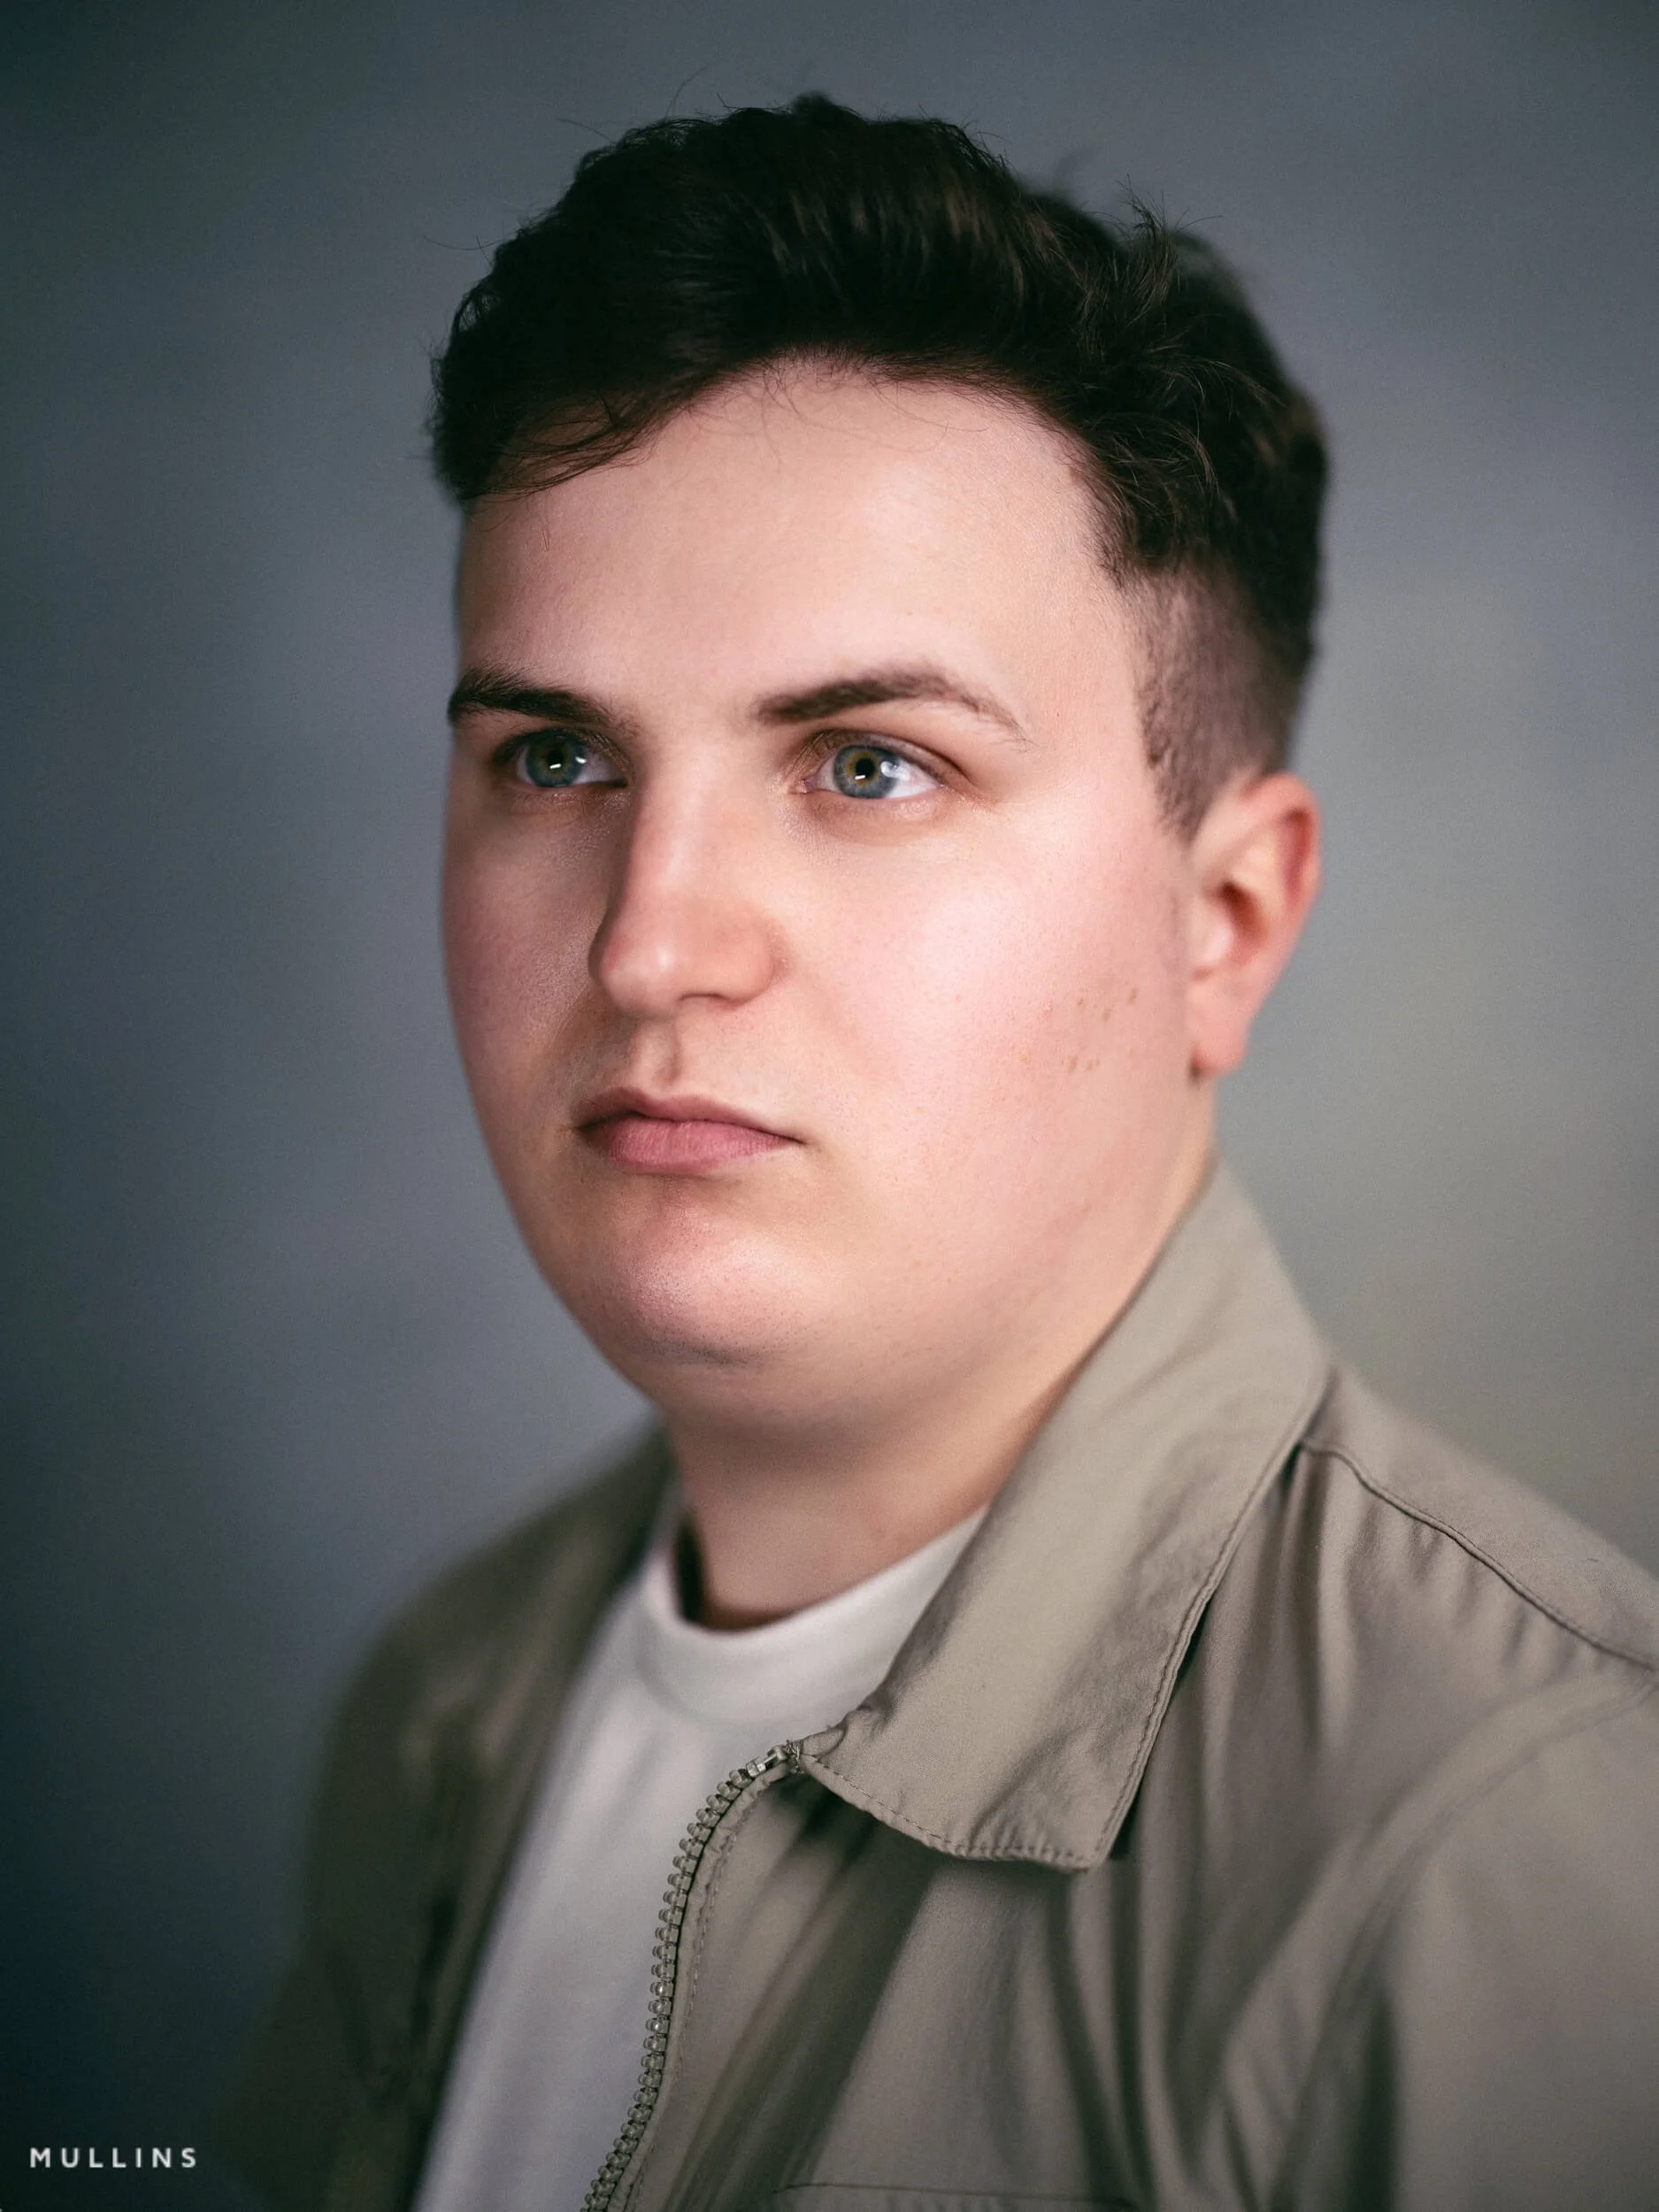
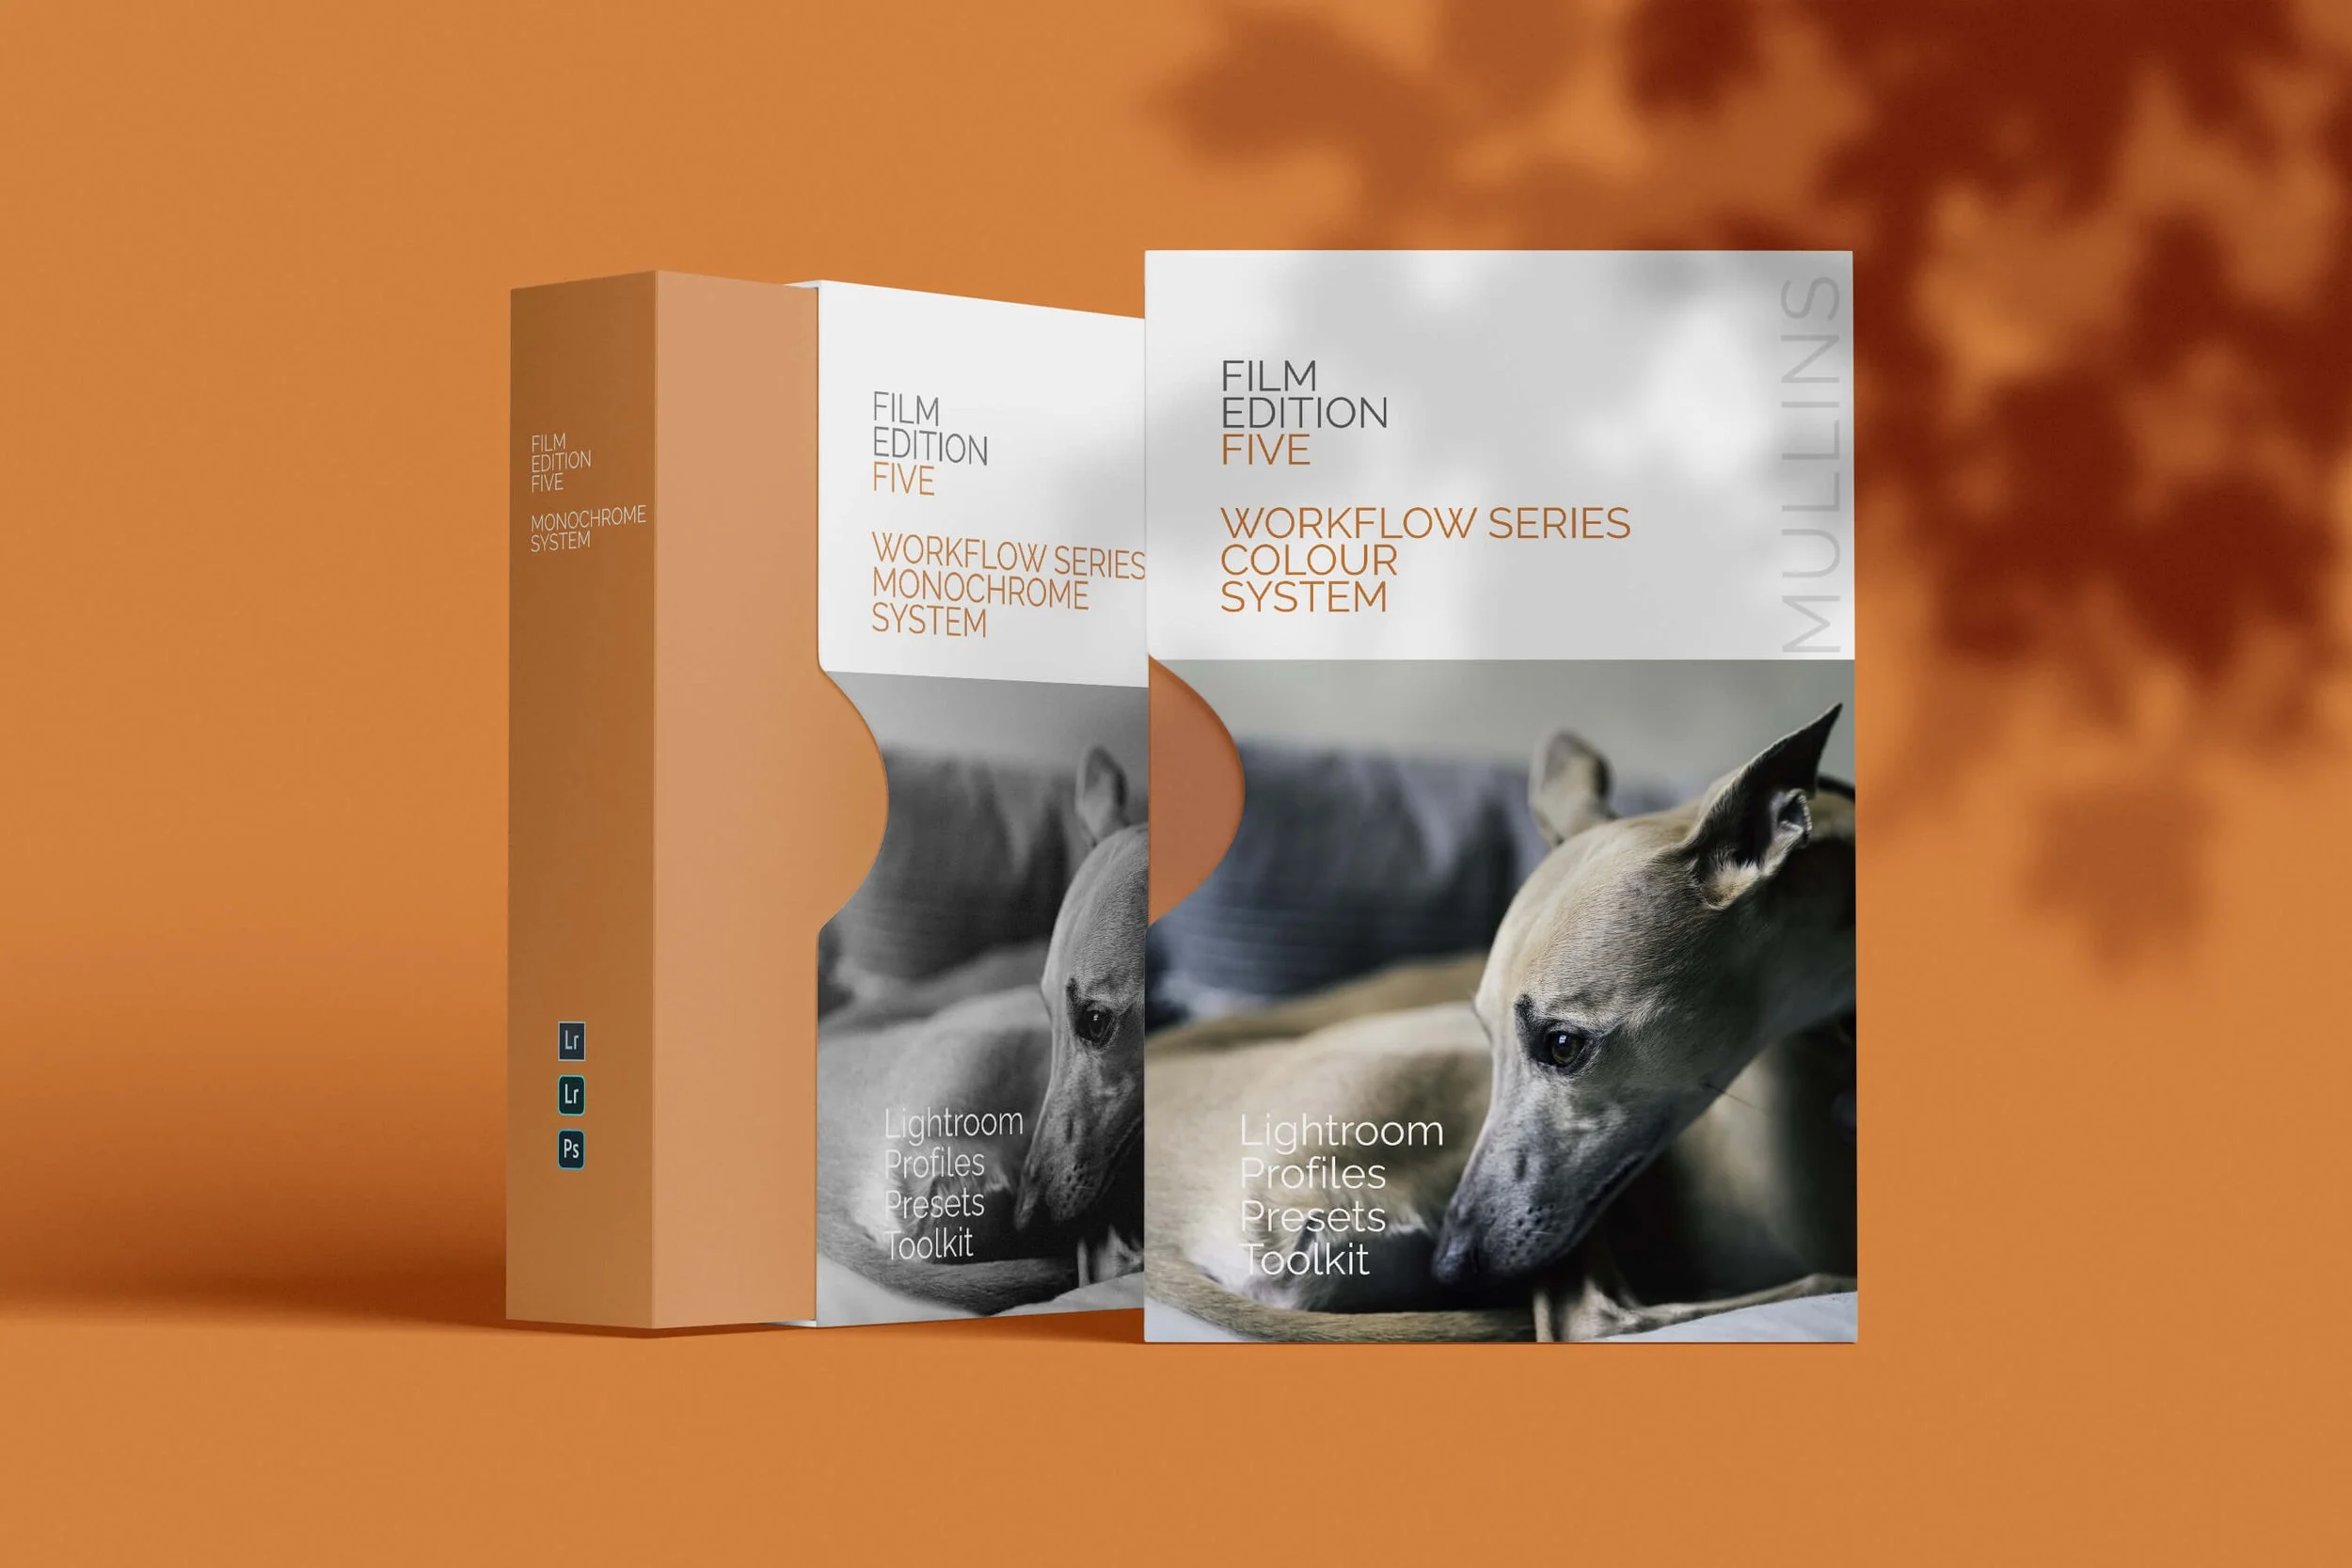
Chrome Profile from Film Edition 5 - Colour
A Showcase Overview of the Chrome Profile from Film Edition 5 - Colour.
Showcase Series for my Lightroom Presets
Chrome Profile (Final Edit) from Film Edition 5 - Colour
Chrome Profile from Mullins Film Edition 5 - Colour
Steps involved in creating this very filmic monochrome image from the original (below)
Make basic exposure corrections.
Choose the Chrome (Neutral) Profile from Mullins Film Edition 5 Profiles.
Choose Curve - High Contrast Punch from the Toolkit (Tone)
Choose Background Darken (and use the slider for taste) from Toolkit (AI Masks)
Choose Grain - Film from the Toolkit (Grain)


What are Lightroom presets?
Wondering what Lightroom Presets actually are—and whether they’re still worth using in 2025? This post breaks down how they work, why they matter, and how to find or customise the right ones for your photography style.

Lightroom Presets in 2025: A Shortcut, A Signature, or Something Else?
Lightroom Presets have been part of digital photography workflows for over a decade, and yet, they still divide opinion. Some photographers rely on them as essential tools. Others, less so. Somewhere in between, there's a quieter group—those who see presets as a useful nudge rather than a finished answer.
But what hasn’t changed is the underlying motivation: speed, consistency, and style. That’s why presets are still relevant in 2025. Possibly more than ever.
What Do Lightroom Presets Do?
At a basic level, Lightroom Presets are saved combinations of editing adjustments. When applied to an image, they instantly adjust settings such as:
Exposure and contrast
White balance and tint
Colour grading and tone curves
Texture, clarity, and sharpness
Grain, vignette, and other effects
Think of a preset as a recipe. It doesn’t make the meal, but it gives you a reliable starting point. You can follow it precisely, or make it your own.
Why Use Lightroom Presets?
While they aren’t essential for every photographer, presets offer a range of practical and creative benefits:
Speed – Apply complex edits in a click, especially useful when working with hundreds of images.
Consistency – Maintain a uniform look across a body of work, regardless of varying lighting conditions.
Creative direction – Use presets to explore styles or tones you might not think to create manually.
Personal branding – Reinforce your visual identity with a signature look.
Efficient workflow – Save time on repetitive edits so you can focus more on selection and storytelling.
Used with intent, they become part of a photographer’s voice—not a shortcut, but a structure.


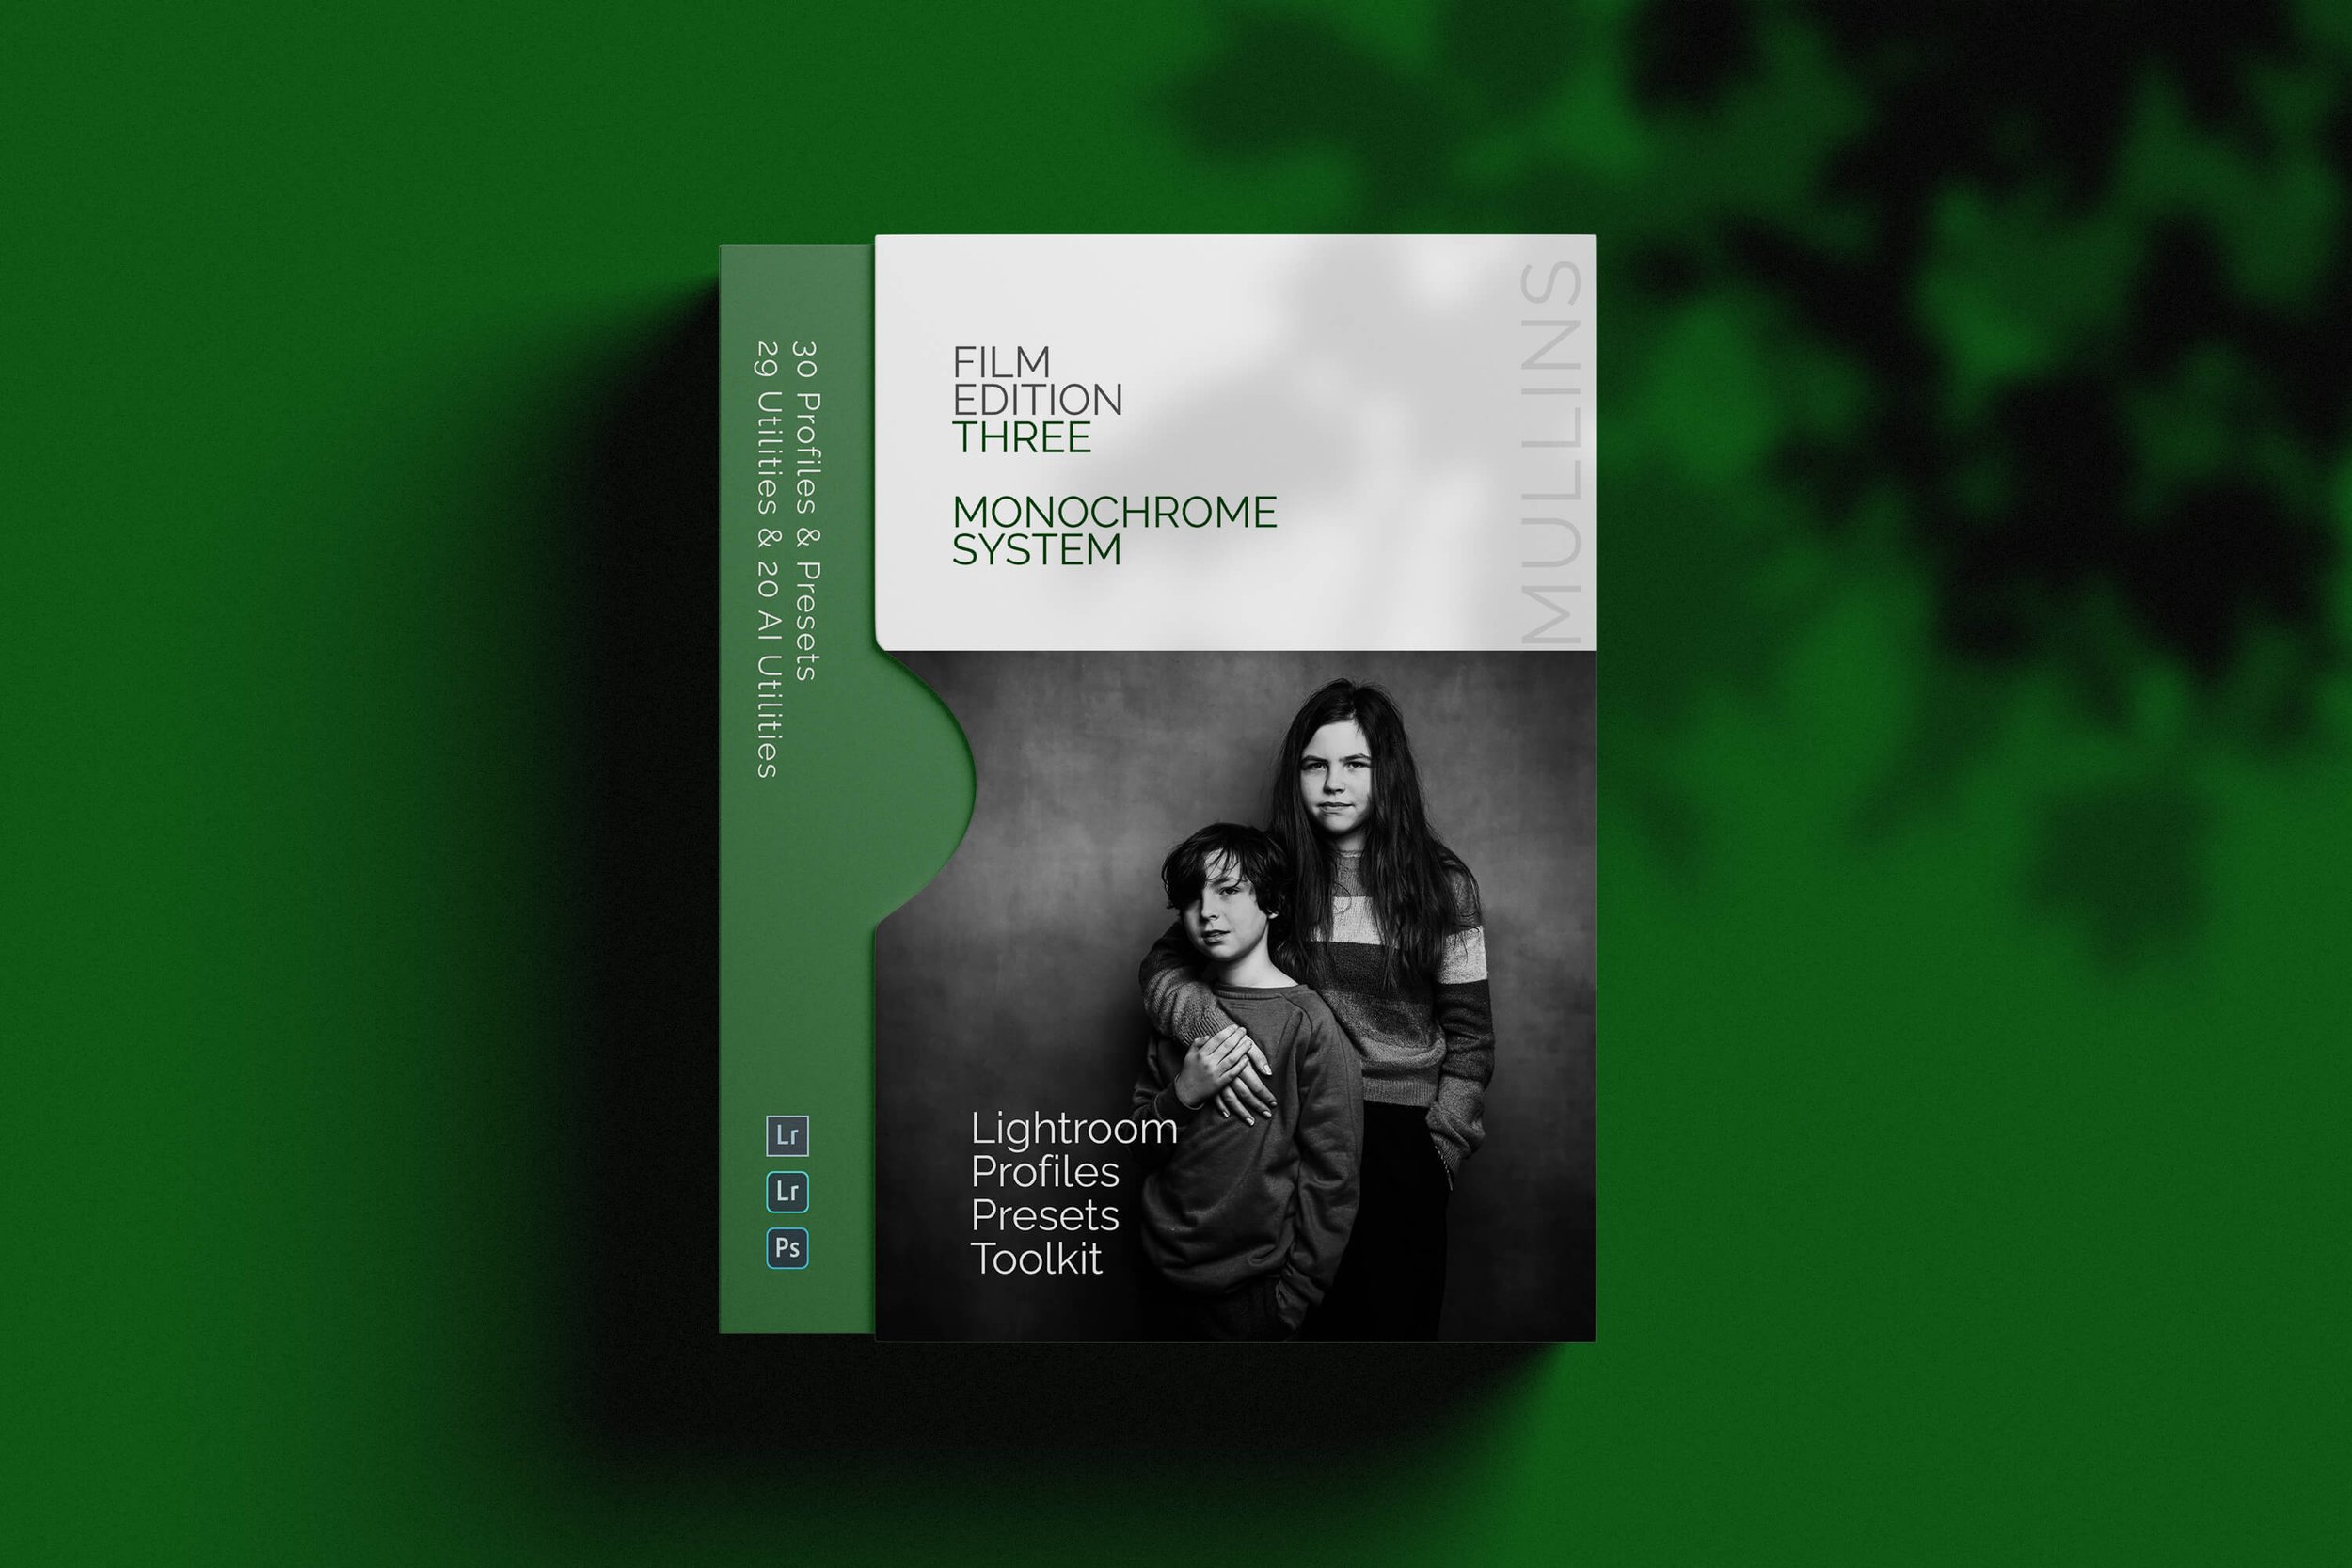
Tri-X Style Preset from Film Edition 3 Monochrome
Where Do You Find Lightroom Presets?
Lightroom itself comes with several built-in presets, including black and white looks, cinematic tones, and portrait-focused styles. These are fine for experimenting, but often feel too broad for consistent, professional use.
Most photographers eventually seek out third-party options, or build their own. There are thousands available online, ranging from free downloads to paid collections tailored to specific genres.
For photographers shooting weddings, candid portraits, or documentary-style work, I’ve created a curated collection of presets based on real-world editing scenarios. You can explore my Lightroom Presets here.
Can You Customise Presets?
Yes, and you absolutely should.
Presets rarely fit every image perfectly. A preset might bring the image close, but you’ll usually want to tweak exposure, white balance, or contrast depending on the conditions you shot in.
You can also modify a preset and save your version. Over time, many photographers evolve even purchased presets into something distinctly their own.
Presets are meant to be adapted, not obeyed.

Elitechrome Preset from Film Edition 3 Colour
Presets vs Profiles: Understanding the Foundation
Before diving further, it’s worth distinguishing between presets and profiles—two terms often used interchangeably, but quite different under the hood.
A Lightroom Preset adjusts slider-based settings like exposure, tone curves, colour mix, and sharpening. It’s visible. You can see the changes as soon as you apply it.
A Profile, on the other hand, changes how the RAW data is interpreted before sliders even come into play. Profiles can simulate film stocks, apply LUTs, or shift colour rendering in subtle or dramatic ways. They’re often the first layer—the invisible push beneath the edit.
You can use either independently, but many photographers stack them: apply a profile first for foundational colour, then use a preset to refine the look.
Understanding the difference matters not just technically, but creatively. Presets tweak. Profiles transform.
If you want a deeper explanation and practical breakdown, I’ve written a separate piece: Profiles vs Presets.
Why Presets Still Matter
Some people use presets as shortcuts. Others use them as foundations. Neither approach is wrong.
Presets save time. They offer predictability. They allow photographers—particularly those working to a fast pace, like wedding or event shooters—to stay consistent across hundreds of images without getting bogged down.
But increasingly, presets have become more than a tool. They’ve become part of how photographers express their visual identity. That soft fade in the blacks, the gentle warmth in the highlights, the subtle grain—that’s not just an aesthetic. It’s a fingerprint.
And in a world saturated with templated edits and auto-enhance buttons, having a look that feels distinct is worth holding on to.
What Makes a Good Preset in 2025?
A good preset doesn’t just apply a look—it solves a problem.
Maybe it’s tuned for difficult lighting: flat, foggy mornings or receptions lit by fairy lights and warm bulbs. Maybe it’s designed to echo the tones of a particular film stock. Or maybe it was born out of trying to fix a recurring issue—harsh reds in skin tones, blue-cast shadows, or digital sharpness that feels a little too clean.
What matters is that it was made with a purpose in mind. And ideally, it should come with a sense of that context. When a preset includes insight—how it’s used, where it shines, what limitations it has—it becomes something much more valuable than a slider pack.
Here’s what often separates the better preset collections from the rest:
Clear descriptions of intent (not just “warm” or “cinematic”)
Real-world usage examples
Adaptability across camera systems or lighting types
Honest expectations: when it works brilliantly, and when it doesn’t

Kodak Double-X S222 Preset from Film Edition 4 Monochrome
Real-World Application Matters More Than Ever
A preset that looks amazing in one test image might fall apart across a full wedding. Or worse—introduce weird colour casts that aren’t visible until printing.
This is why experienced photographers increasingly want more than “a look.” They want tools that hold up under pressure.
If you shoot thousands of frames across changing light—say, a ceremony inside a chapel followed by outdoor portraits—then a good preset helps unify everything, without making it feel artificial.
It’s subtle. Invisible, even. But the difference is there.
And this is where the value often lies—not in the dramatic transformation, but in the quiet consistency.
Crafting Your Own or Using Someone Else’s?
Creating your own presets takes time. But it teaches you how different edits behave in real-life situations, which sliders to trust, and which ones tend to overreach.
Using someone else’s presets isn’t a shortcut in the lazy sense. It’s a way of borrowing experience, standing on the shoulders of someone who’s tested those tones across real scenarios.
But whether you’re building or buying, one thing is worth remembering: presets are a start, not an end. They’re meant to get you 95% of the way. What you do with the final 5% is where style lives.
Tips for Choosing (or Creating) Presets That Last
Look for flexibility, not just drama. A preset that’s too strong will eventually feel tired.
Test it across a variety of images—light, dark, colour-heavy, high contrast.
Watch the skin tones. It’s the one thing clients will notice instantly if it looks unnatural.
Avoid anything that requires perfect exposure. Real photography doesn’t work that way.


Final Thought
Presets aren’t magic. They’re not supposed to be.
But when used with purpose—either your own or borrowed from someone else—they can help shape a style, speed up a workflow, and simplify the repetitive parts of editing so you can spend more time on the creative ones.
Whether they’re shortcuts or signatures depends entirely on how they’re used. In the end, it’s still your eye, your light, and your frame.
FAQ
-
A Lightroom Preset is a saved set of editing adjustments that can be applied to your photos in one click. It changes things like exposure, colour balance, contrast, and tone curves—helping speed up your editing and keep a consistent look.
-
Yes. Presets are particularly helpful for beginners learning to edit. They offer a visual starting point and can help develop your eye for tone, contrast, and colour grading. You’re not locked in—you can still adjust settings after applying one.
-
Most presets are designed to be flexible, but no single preset suits every photo. Lighting, subject matter, and camera settings all influence the result. It’s common to make small tweaks after applying a preset.
-
A preset adjusts your visible settings—things like exposure, shadows, and saturation. A profile, by contrast, changes how the RAW file is interpreted before any sliders are touched. You can learn more in this article on Profiles vs Presets.
-
Absolutely. Once you've made adjustments you're happy with in Lightroom, you can save those settings as a custom preset. Over time, you may find yourself building your own collection tailored to your style and shooting conditions.
-
Lightroom includes some built-in presets, but many photographers prefer third-party options. You can also explore my own collection of Lightroom Presets, designed for real-world use in weddings, street, and documentary photography.
Further Reading & Resources


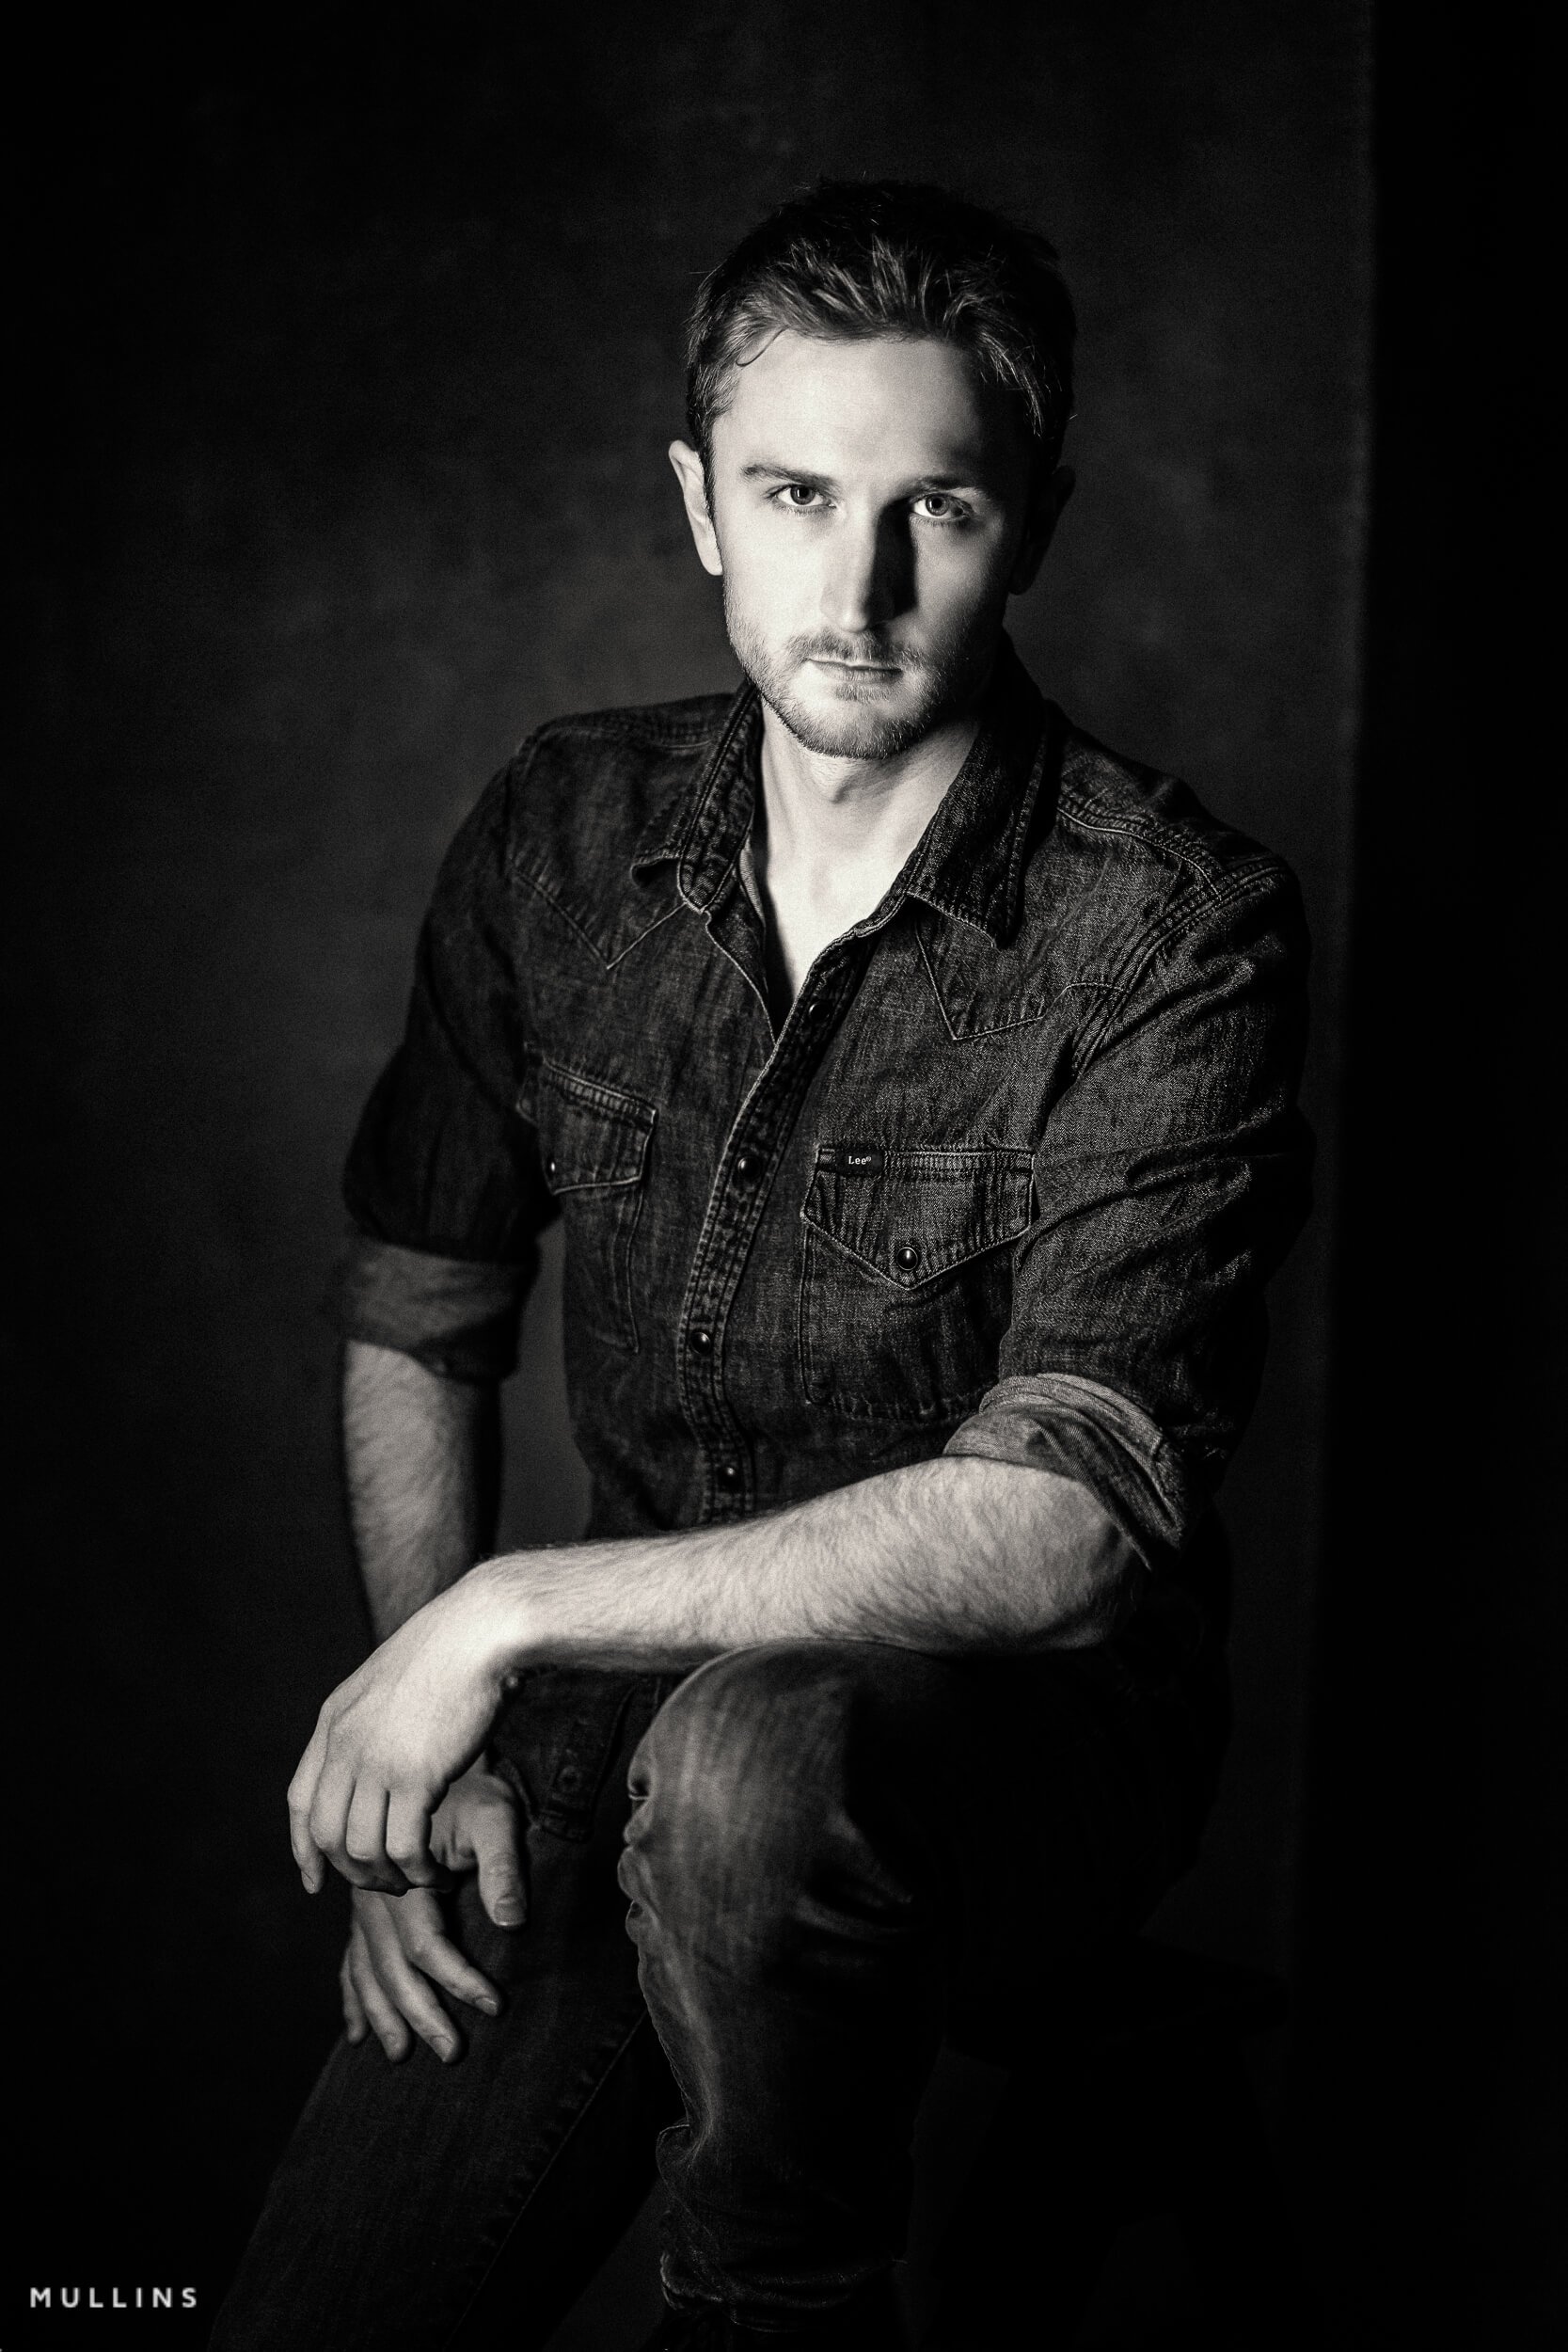
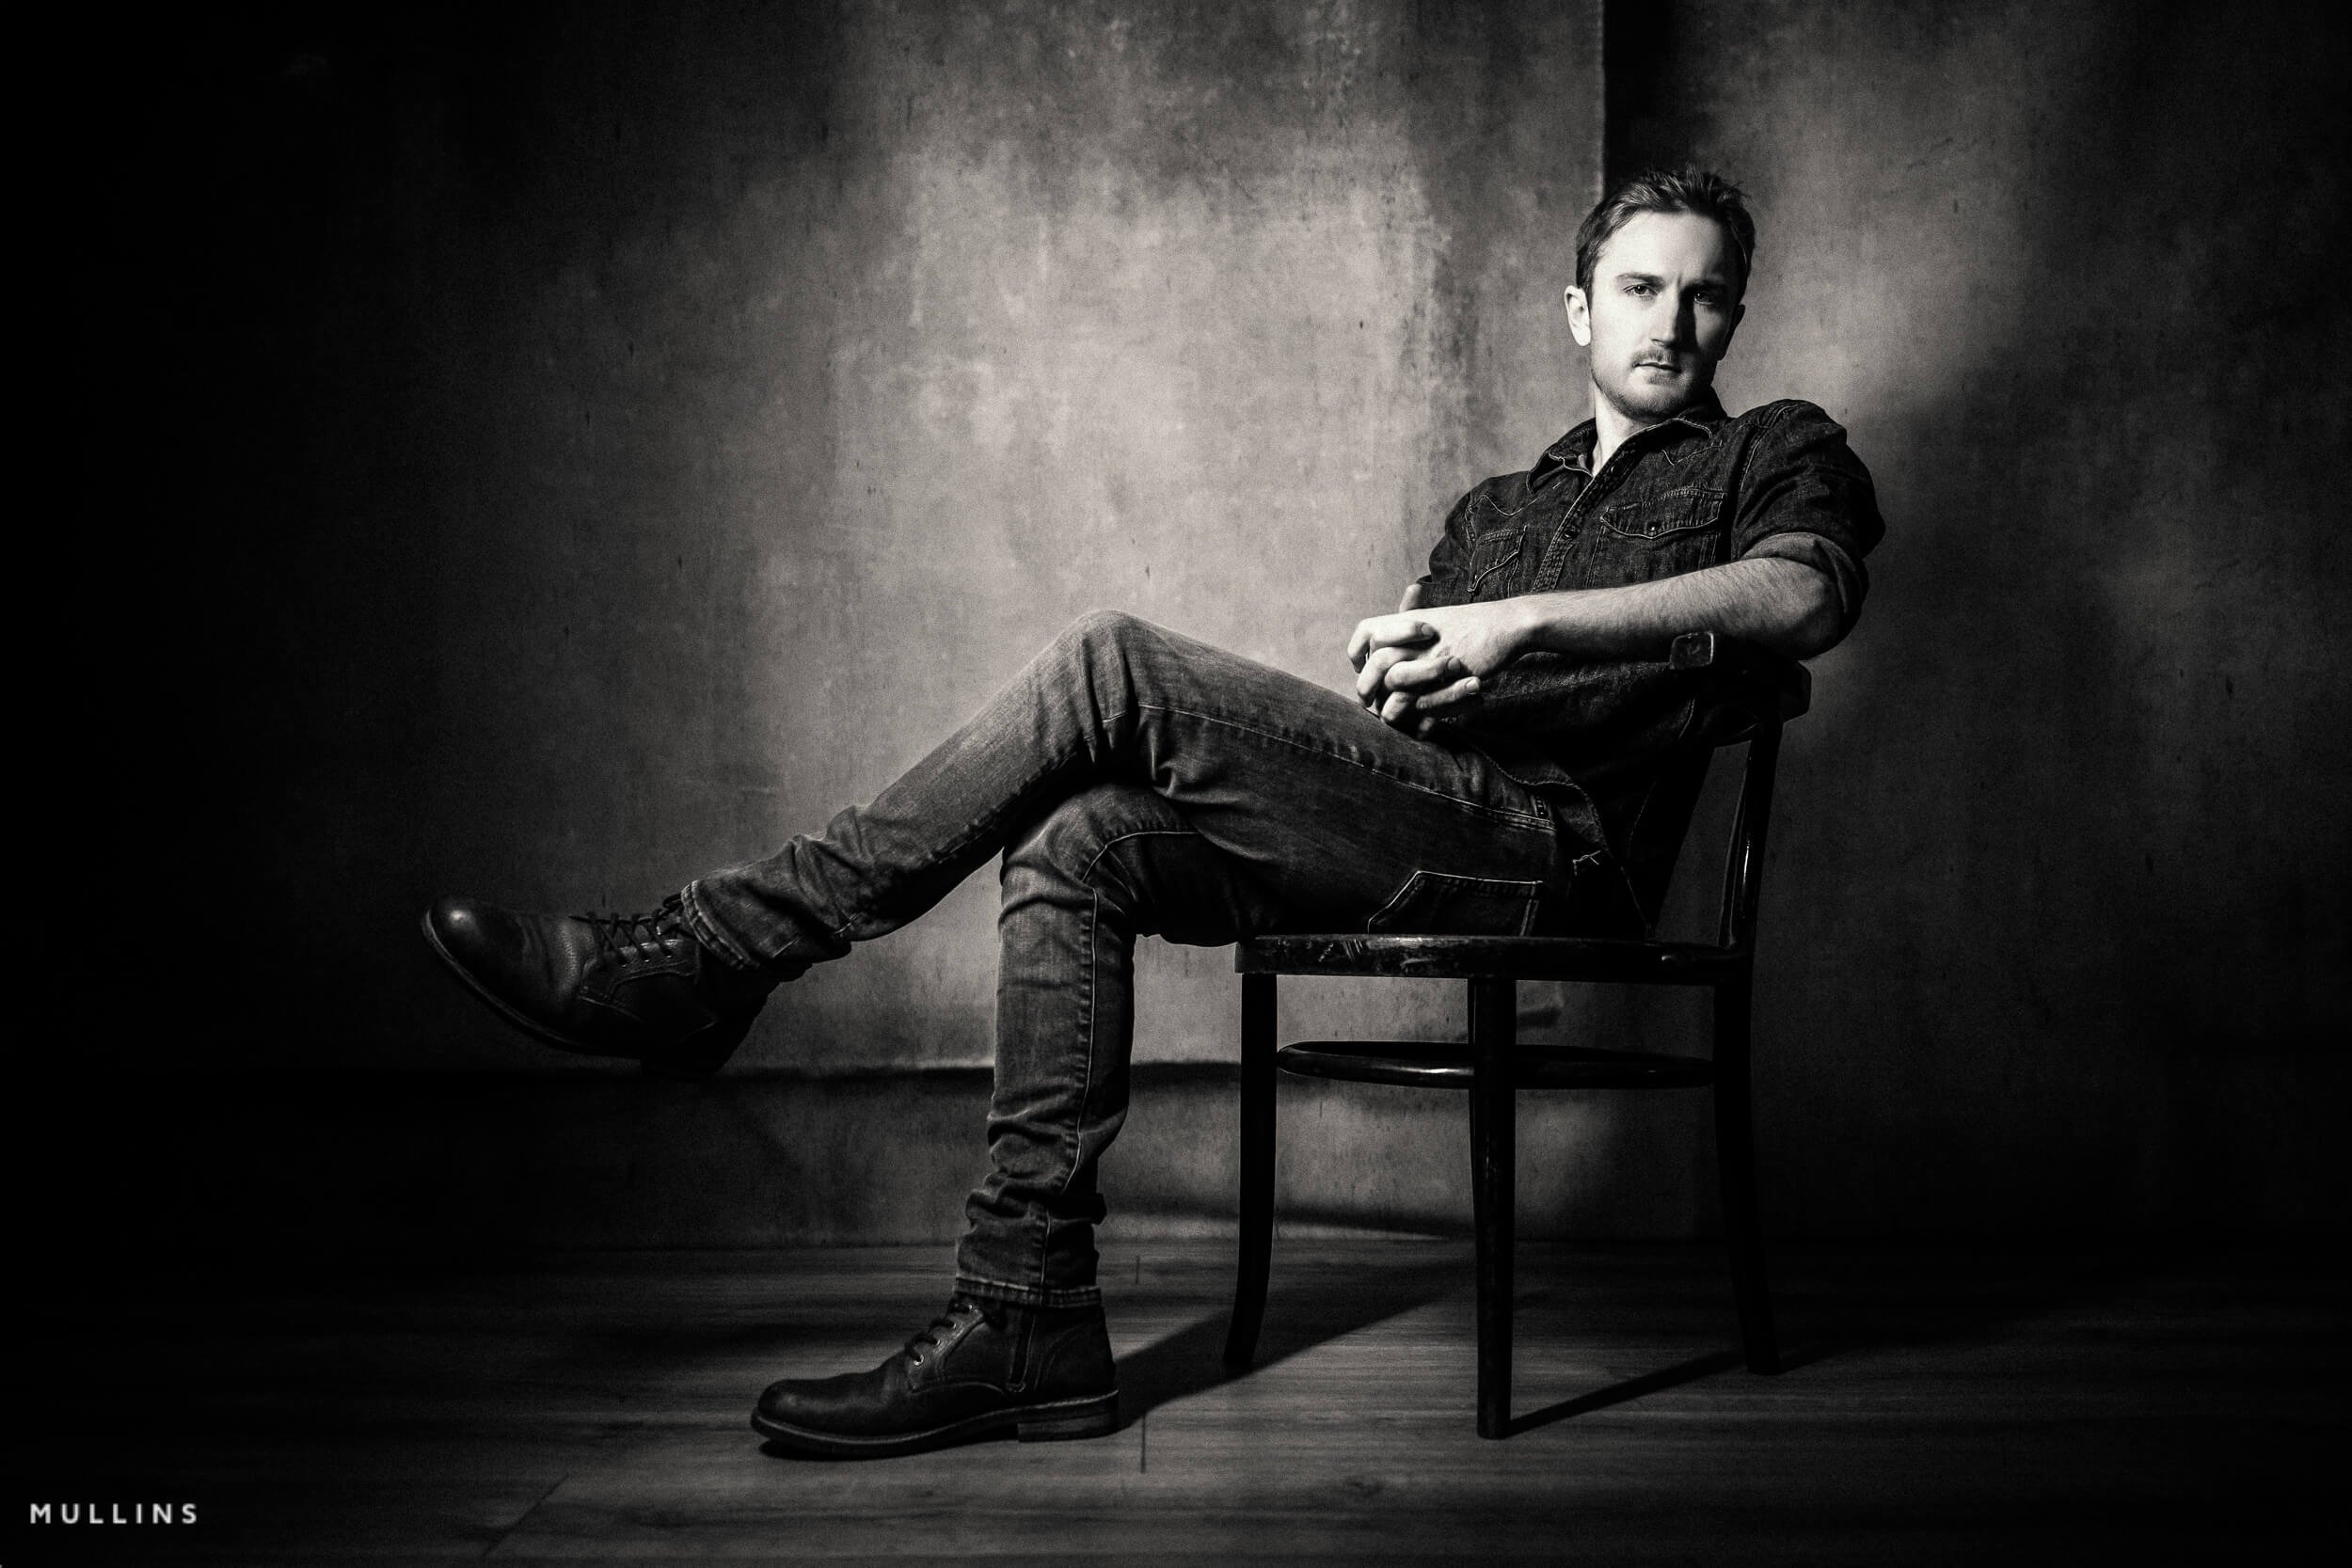
Monochrome Signature C Profile from Film Edition 4 - Monochrome
A Showcase Overview of the Mono Signature 2025 C Profile from Film Edition 4 - Monochrome.
Showcase Series for my Lightroom Presets
Monochrome Signature C Profile (Final Edit) from Film Edition 4 - Monochrome
Editing Video & Walkthrough:
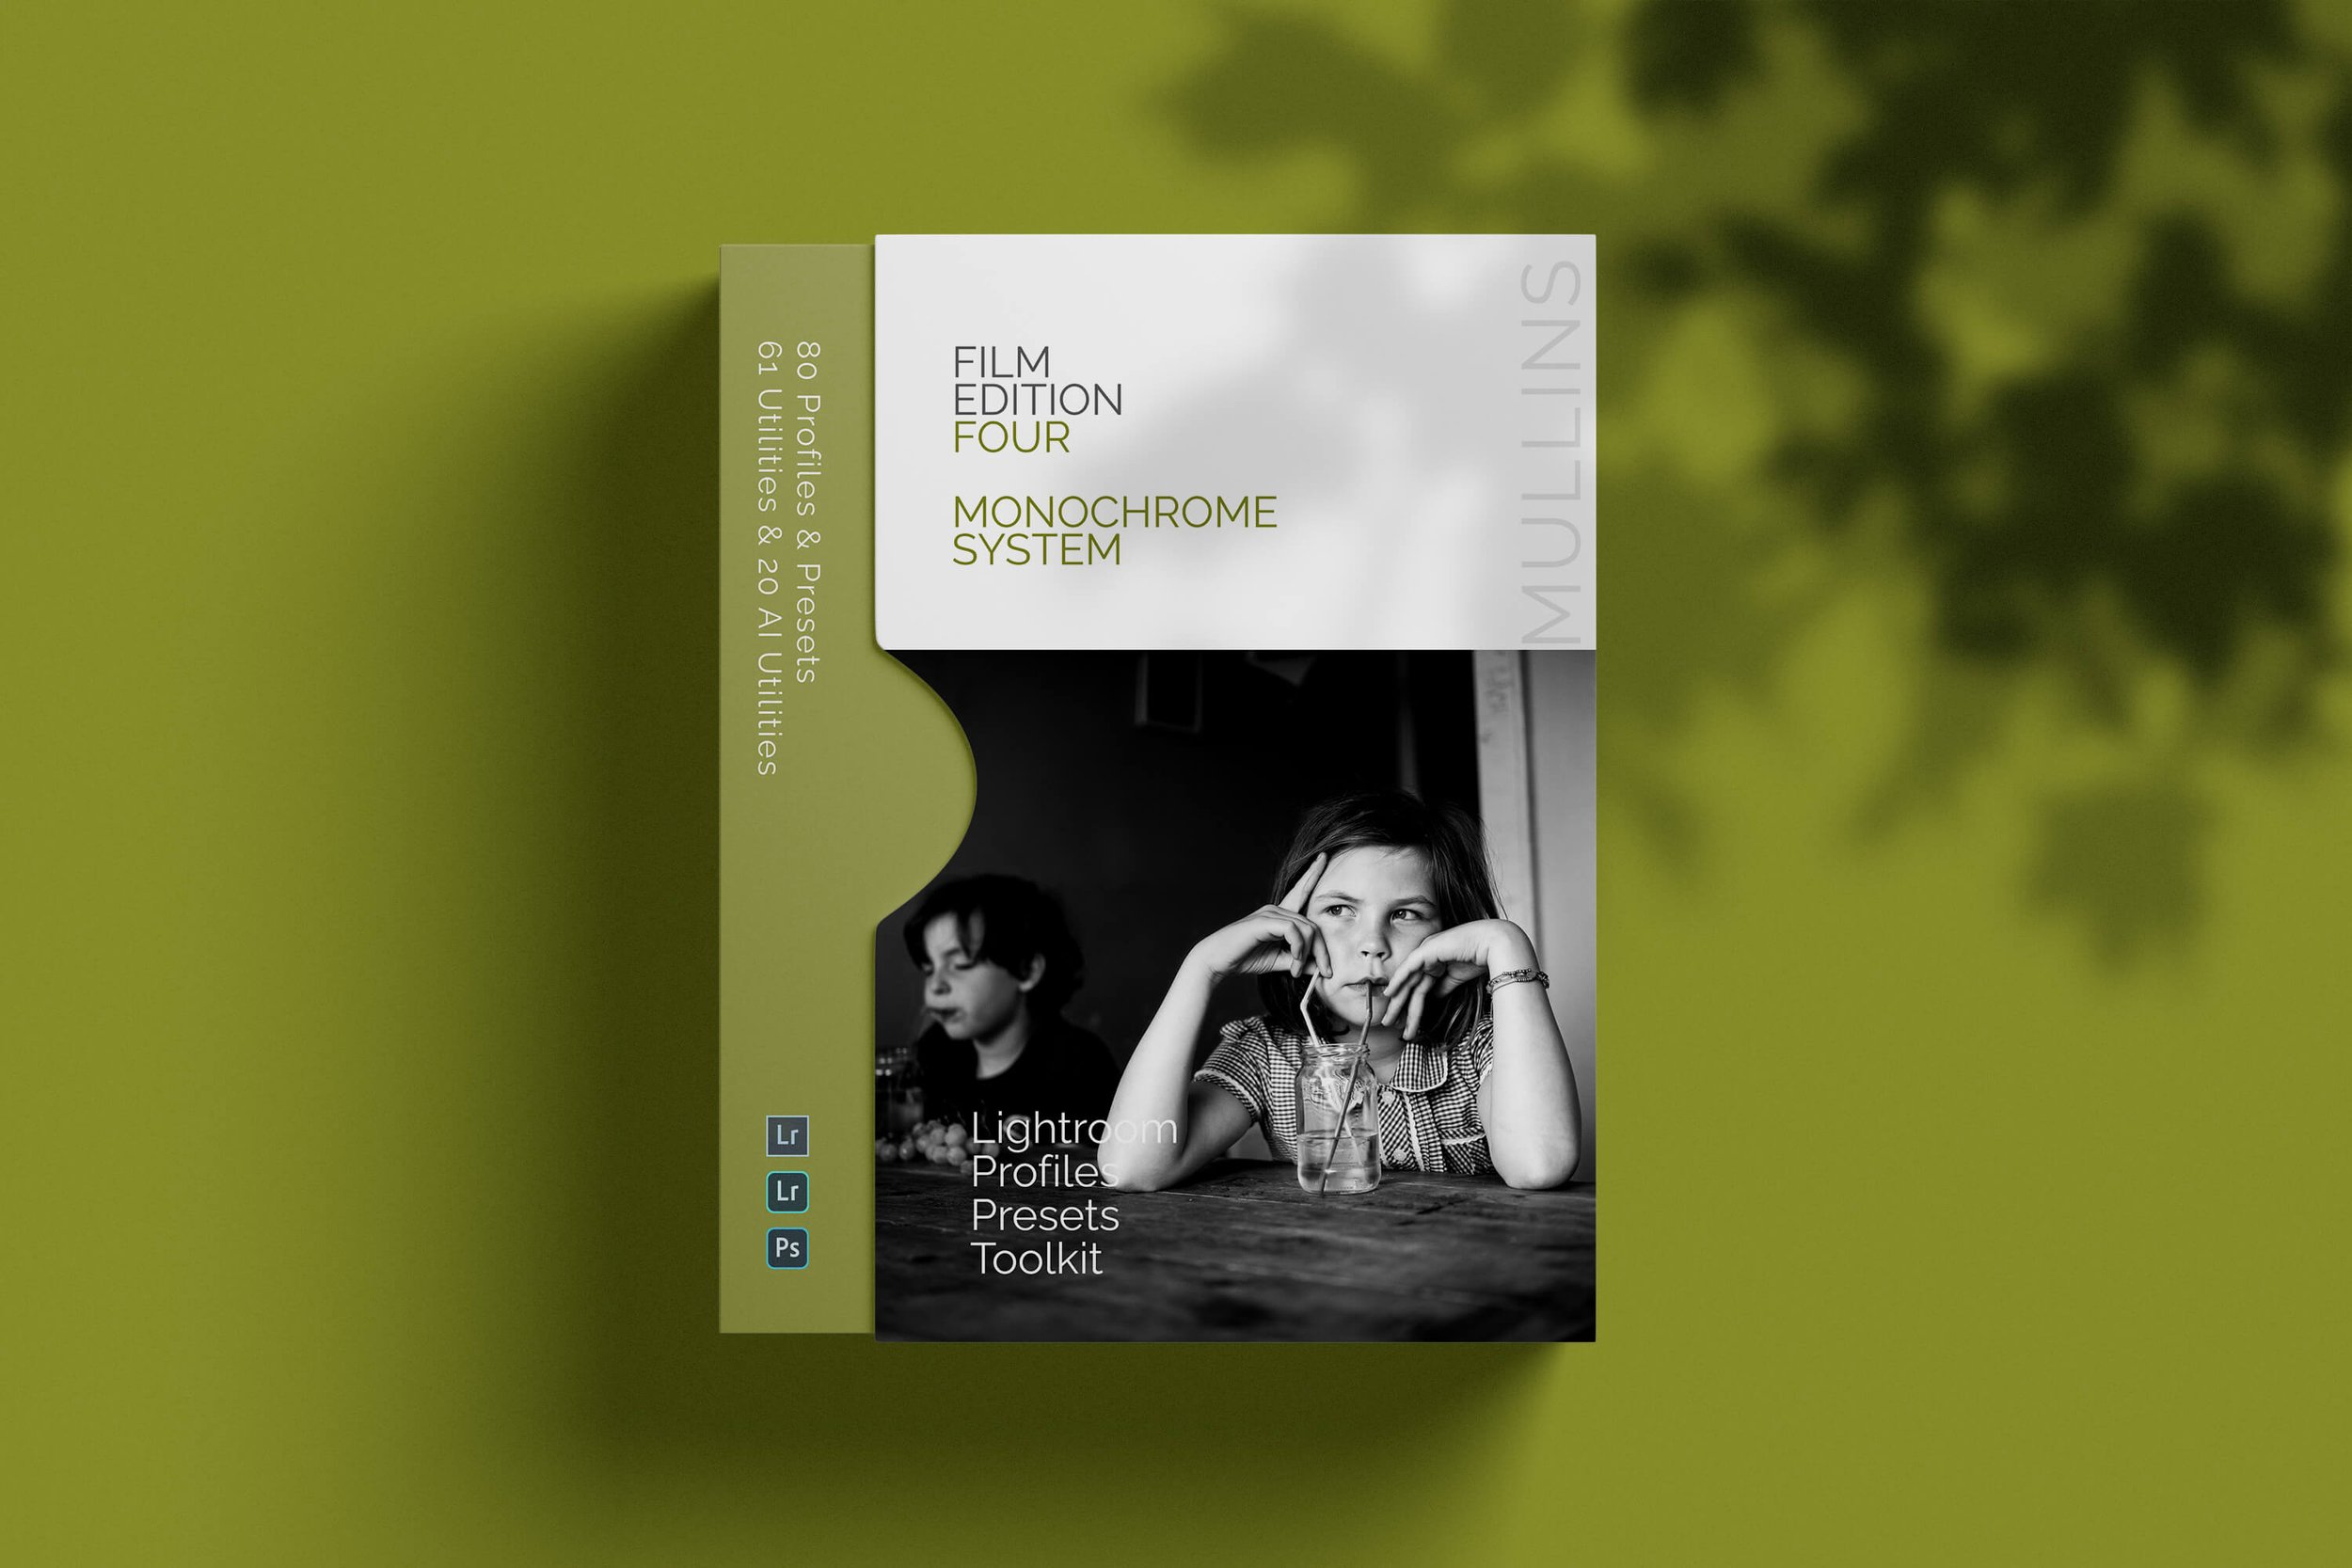
Monochrome Signature C Profile from Mullins Film Edition 4 - Monochrome
Steps involved in creating this very filmic monochrome image from the original (below)
Make basic exposure corrections.
Choose the Signature C Profile from Mullins Film Edition 5 Profiles.
Choose Grain - Film from Tech Adj. Utilities
Choose Background Darken (and use slider for taste) from Mullins Film Utilities - AI

Original Image

Understanding the Difference Between Profiles and Presets in Lightroom
What's the difference between profiles and presets in my Lightroom packs? Presets apply a full filmic look with adjustments like contrast and grain, while profiles change how Lightroom renders colours and tones without affecting sliders. Understanding both can give you more control over your edits.
When working with my Lightroom Preset Packs, you may have noticed two key elements—profiles and presets. While they might seem similar, they serve very different purposes in your editing workflow.
In this video, I’ll break down exactly how they work and how you can use them effectively.
Presets: The One-Click Edit
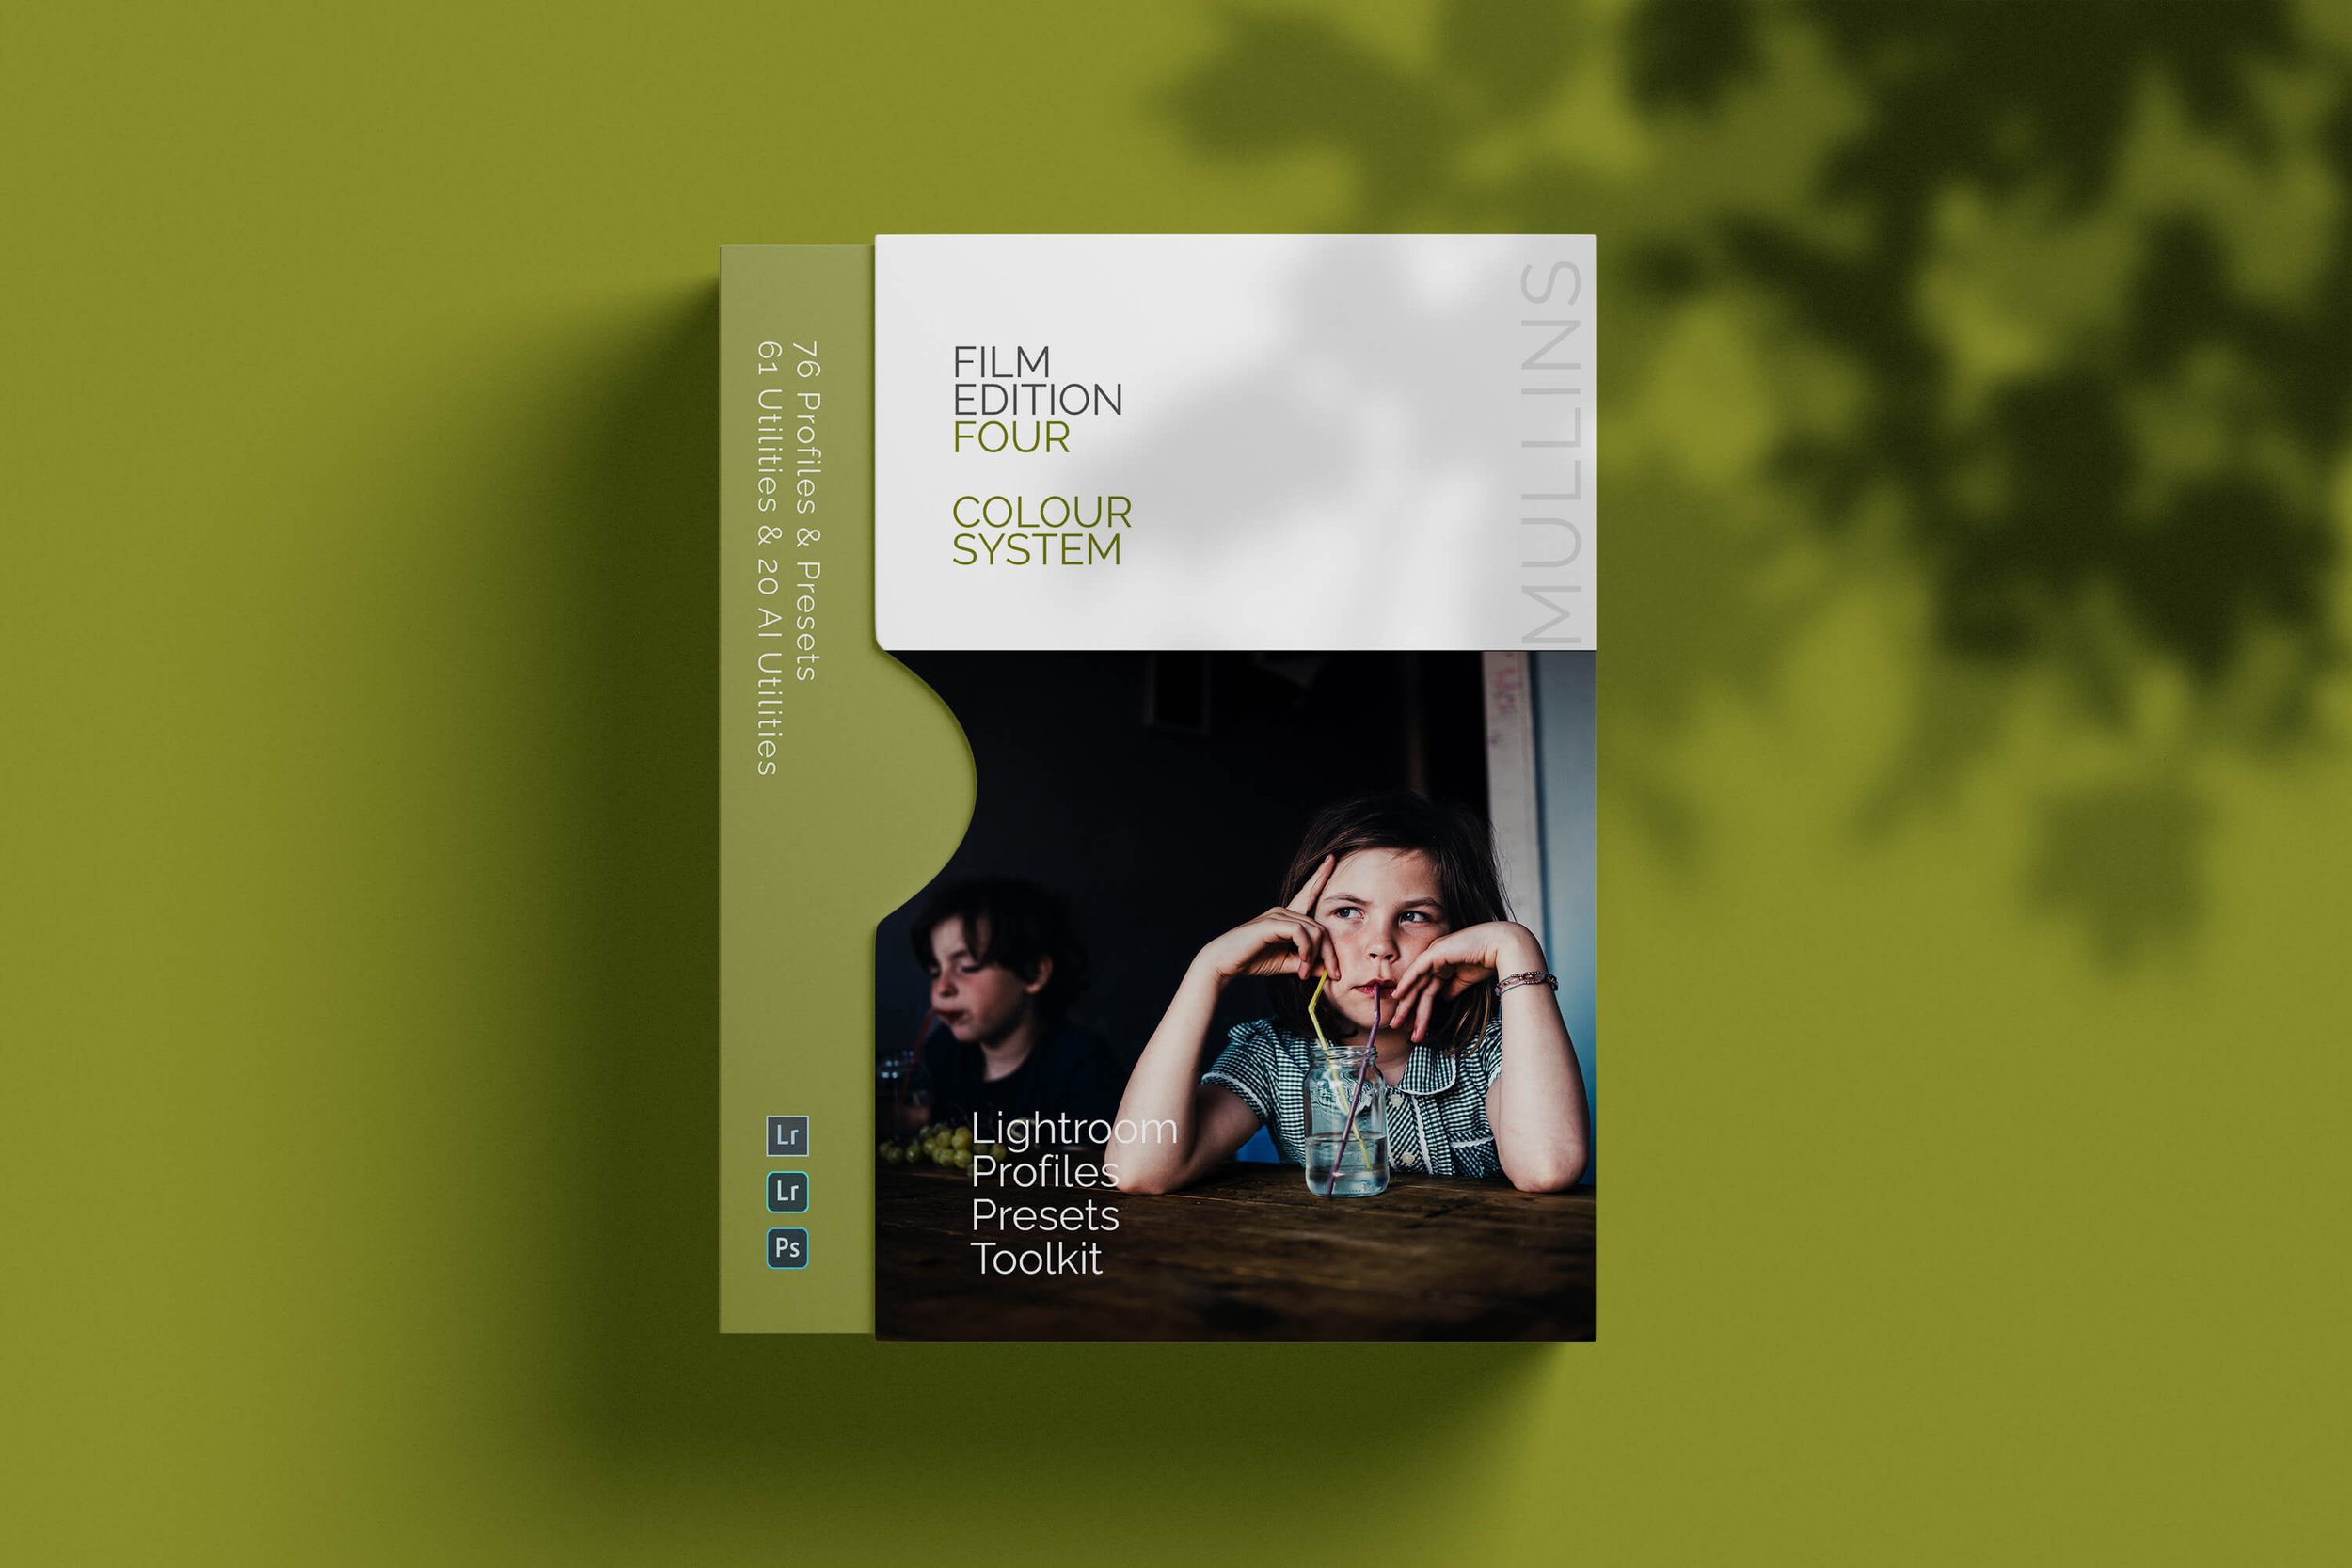
Presets in my packs—whether it’s Film Edition One, Two, Three, Colour Film, Monochrome, or the Silver Palette 2024—apply a carefully crafted look to your images. They include colour grading, tone curve adjustments, clarity tweaks, vignette, and grain to achieve a specific aesthetic.
When you apply a preset, you’re not just adding a colour profile; you’re also adjusting multiple settings in Lightroom to get that filmic feel.
For example, applying the Arizona Film preset from Film Edition Three will not only use the Monochrome Arizona profile, but it will also adjust clarity, tone curve, vignette, and grain—giving your photo a complete, professional-grade look in one click.
Profiles: The Subtle Starting Point
Profiles, on the other hand, act as the foundation of each preset. Every single preset in my packs is built on its own custom profile that I’ve created externally from Lightroom. However, profiles don’t touch your exposure, contrast, or grain settings—they simply shift the way Lightroom renders the colours and tones in your image.
If you like the look of a particular preset but want to keep control over the finer adjustments, you can just apply its profile manually from the Profiles panel.
This gives you the flexibility to start with the colour and tonal characteristics of a preset without any additional edits.
When to Use Profiles vs. Presets
Presets are best when you want a one-click edit that instantly applies a filmic look with adjustments like contrast, clarity, and grain.
Profiles are perfect when you want to retain control over the adjustments, using them as a subtle base to build your own edits.
Whether you use just the profiles or go all in with the presets, the goal is the same—to make editing faster, more intuitive, and to give your images a beautiful, film-inspired look with minimal effort.
Check out the video above to see the differences in action and find the best approach for your editing style!
Arizona Film Preset from Film Edition 3 - Monochrome
A Showcase Overview of the Arizona Film Preset from Film Edition 3 - Monochrome.
Showcase Series for my Lightroom Presets

Arizona Film Preset (Final Edit) from Film Edition 3 - Monochrome
Editing Video & Walkthrough:
Arizona Film Preset from Mullins Film - Edition 3 Monochrome
Steps involved in creating this very filmic monochrome image from the original (below)
Make basic exposure corrections.
Choose the Arizona Film preset from Mullins Film Edition 3 Profiles.
Choose Subject Highlight Decrease Standard from Mullins Film Utilities - AI

Original Image
Other Images Demonstrated:


Mullins 15 Monochrome 400+ Preset from Film Edition 3 - Monochrome
A Showcase Overview of the Mullins 15 Monochrome 400+ Preset from Film Edition 3 - Monochrome.
Showcase Series for my Lightroom Presets
Mullins 15 Monochrome 400+ Preset (Final Edit) from Film Edition 3 - Monochrome
Mullins 15 Monochrome 400+ Preset from Mullins Film - Edition 3 Monochrome
Steps involved in creating this very filmic monochrome image from the original (below)
Make basic exposure corrections.
Choose the Mullins 15 Monochrome 400+ preset from Mullins Film Edition 3 Profiles.
Choose Eyes Brighten from Mullins Film Utilities - AI

Original Image
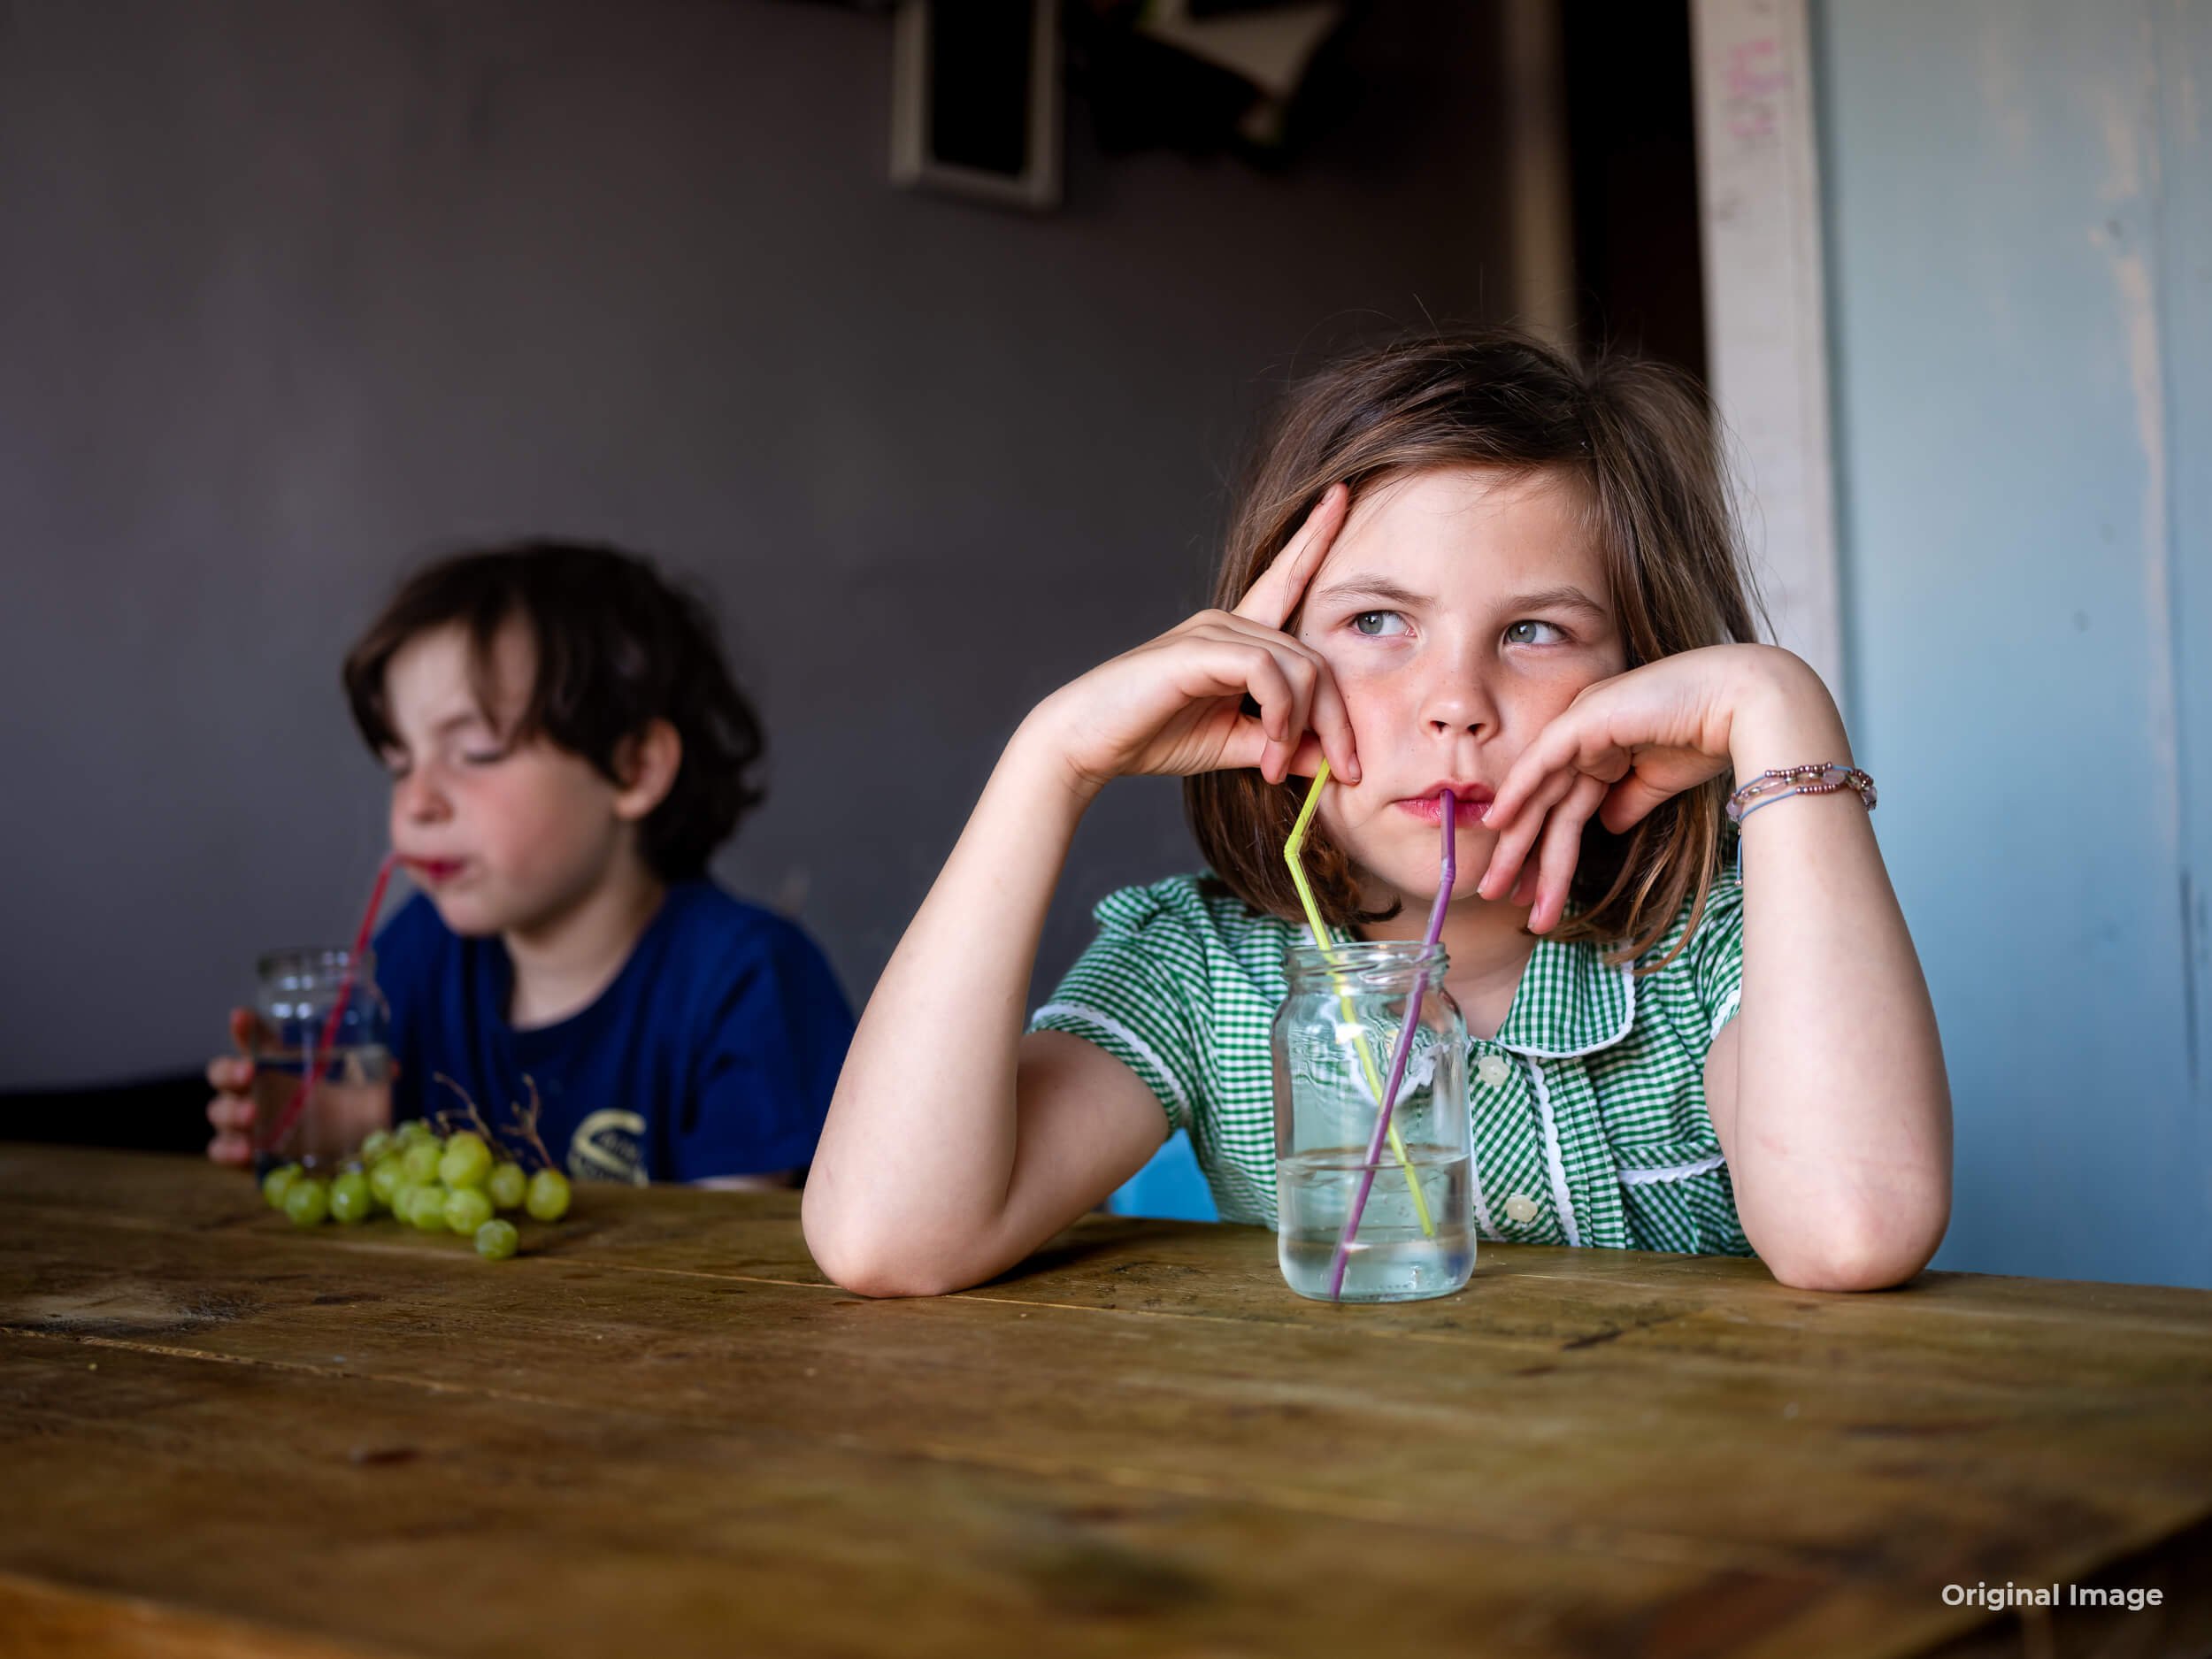
Monochrome Standard Profile from Film Edition 3 - Monochrome
A Showcase Overview of the Monochrome Standard Profile from Film Edition 3 - Monochrome.
Showcase Series for my Lightroom Presets
Monochrome Standard Profile (Final Edit) from Film Edition 3 - Monochrome
Monochrome Standard Profile from Mullins Film - Edition 3 Monochrome
The video demonstrates the simple edit, then uses the AI Presets to adjust the background and the grain.
Released in November 2023, Film Edition Three represents six months of design and development. A comprehensive set of Film-based premium profiles and presets.
This advanced monochrome set contains 21 of my most detailed monochromatic presets and nine detail-accurate base-level profiles.
As well as the time-saving complete set of utilities, Film Edition Three also includes a suite of AI Utilities to significantly speed up your workflow in the latest versions of Lightroom Classic, CC and Cloud.
These presets work with any brand camera.
This new Lightroom preset pack's content represents a fresh and distinct collection, offering innovative styles and adjustments entirely different from my previous packs.

Original Image
Elitechrome Profile from Film Edition 3 - Colour
A Showcase Overview of the Elitechrome Profile from Film Edition 3 - Colour.
Showcase Series for my Lightroom Presets
Elitechrome Profile (Final Edit) from Film Edition 3 - Colour

Elitechrome Profile from Mullins Film - Edition 3 Colour
In this short video, I demonstrate how to take the original photograph of my daughter in the studio and edit it using the Elitechrome Profile from my Film Edition 3—Colour Lightroom Preset Pack.
The video demonstrates the simple edit, then uses the AI Presets to adjust the background and the grain.
Released in November 2023, Film Edition Three represents six months of design and development. A comprehensive set of Film-based premium profiles and presets.
This advanced colour set contains 20 of my most detailed colour presets and 16 detail-accurate base-level profiles.
In addition to the complete time-saving set of utilities, Film Edition Three also includes a suite of AI Utilities to significantly speed up your workflow in the latest Lightroom Classic, CC, and Cloud versions.
These presets work with any brand camera.
This new Lightroom preset pack's content represents a fresh and distinct collection, offering innovative styles and adjustments entirely different from my previous packs.

Original Image
Ono Preset from Mullins Silver Palette 2024
A Showcase Overview of the Ono Preset from Silver Palette 2024
Showcase Series for my Lightroom Presets
Ono Preset (Final Edit) from Silver Palette 2024
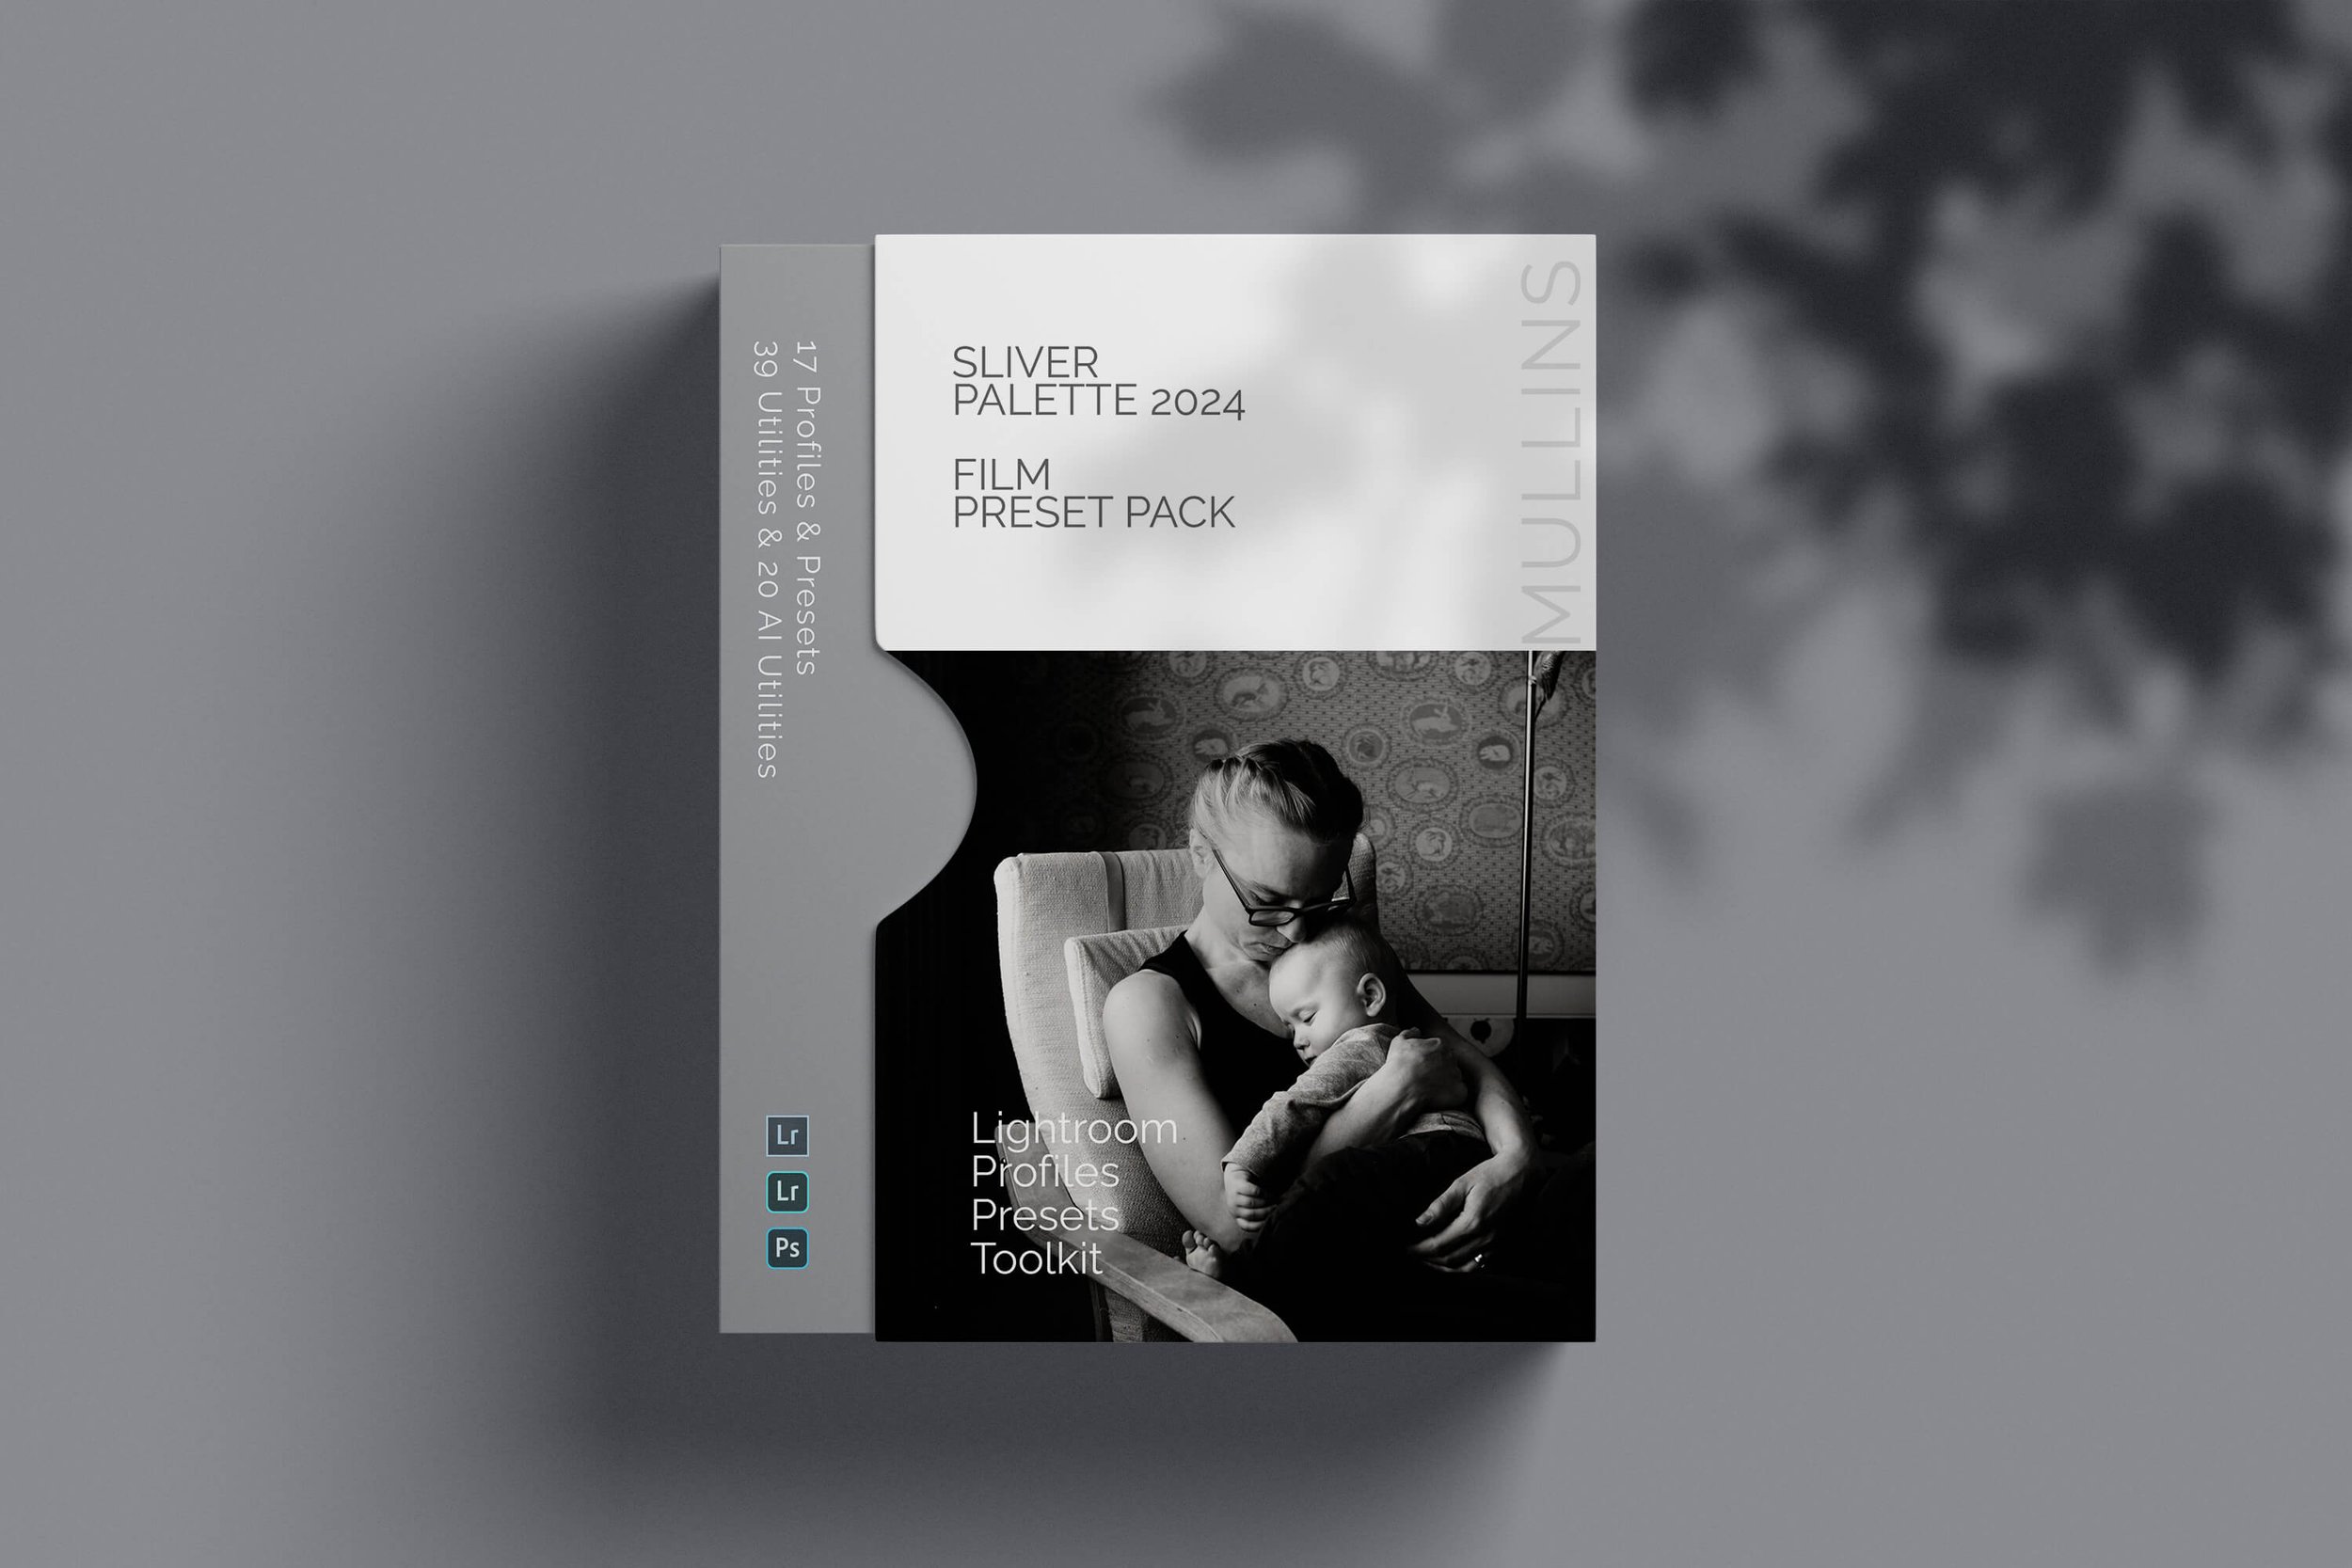
Ono Preset from Mullins Silver Palette 2024
In this short video, I demonstrate taking the original photograph below of my friends cycling up Mclyneth Mountain in Mid Wales and using the Ono Preset from my Silver Palette 2024 Presets.
The video demonstrates the simple edit, then uses the AI Presets to adjust the background and the grain.
Like all of the presets in the Silver Palette 2024 pack, this one is named after a famous Judo Practitioner. In this case, the great Shohei Ono. Ono is regarded as one of judo's top fighters, having won two Olympic gold medals, three World Championships and five Grand Slams.Released in May 2024, Silver Palette 2024 represents a new set of Monochrome Lightroom Presets that pay homage to Film Photography and the world of Judo.
This advanced monochrome set contains 15 brand-new monochromatic presets and two new detail-accurate base-level profiles.
In addition to the time-saving complete set of utilities, Silver Palette 2024 also includes a suite of AI Utilities to significantly speed up your workflow in the latest versions of Lightroom Classic, CC, and Cloud.
These presets make an excellent addition to Film Edition Three Colour or Film Edition Three Monochrome or work perfectly as a stand-alone set of Lightroom Presets.
These presets work with any brand camera.

Original Image
A Showcase Overview of the Chrome Profile from Film Edition 5 - Colour.