
How I Edit my Black and White Images with Lightroom
Black and White Editing in Lightroom
Update - June 2020 (original article below)


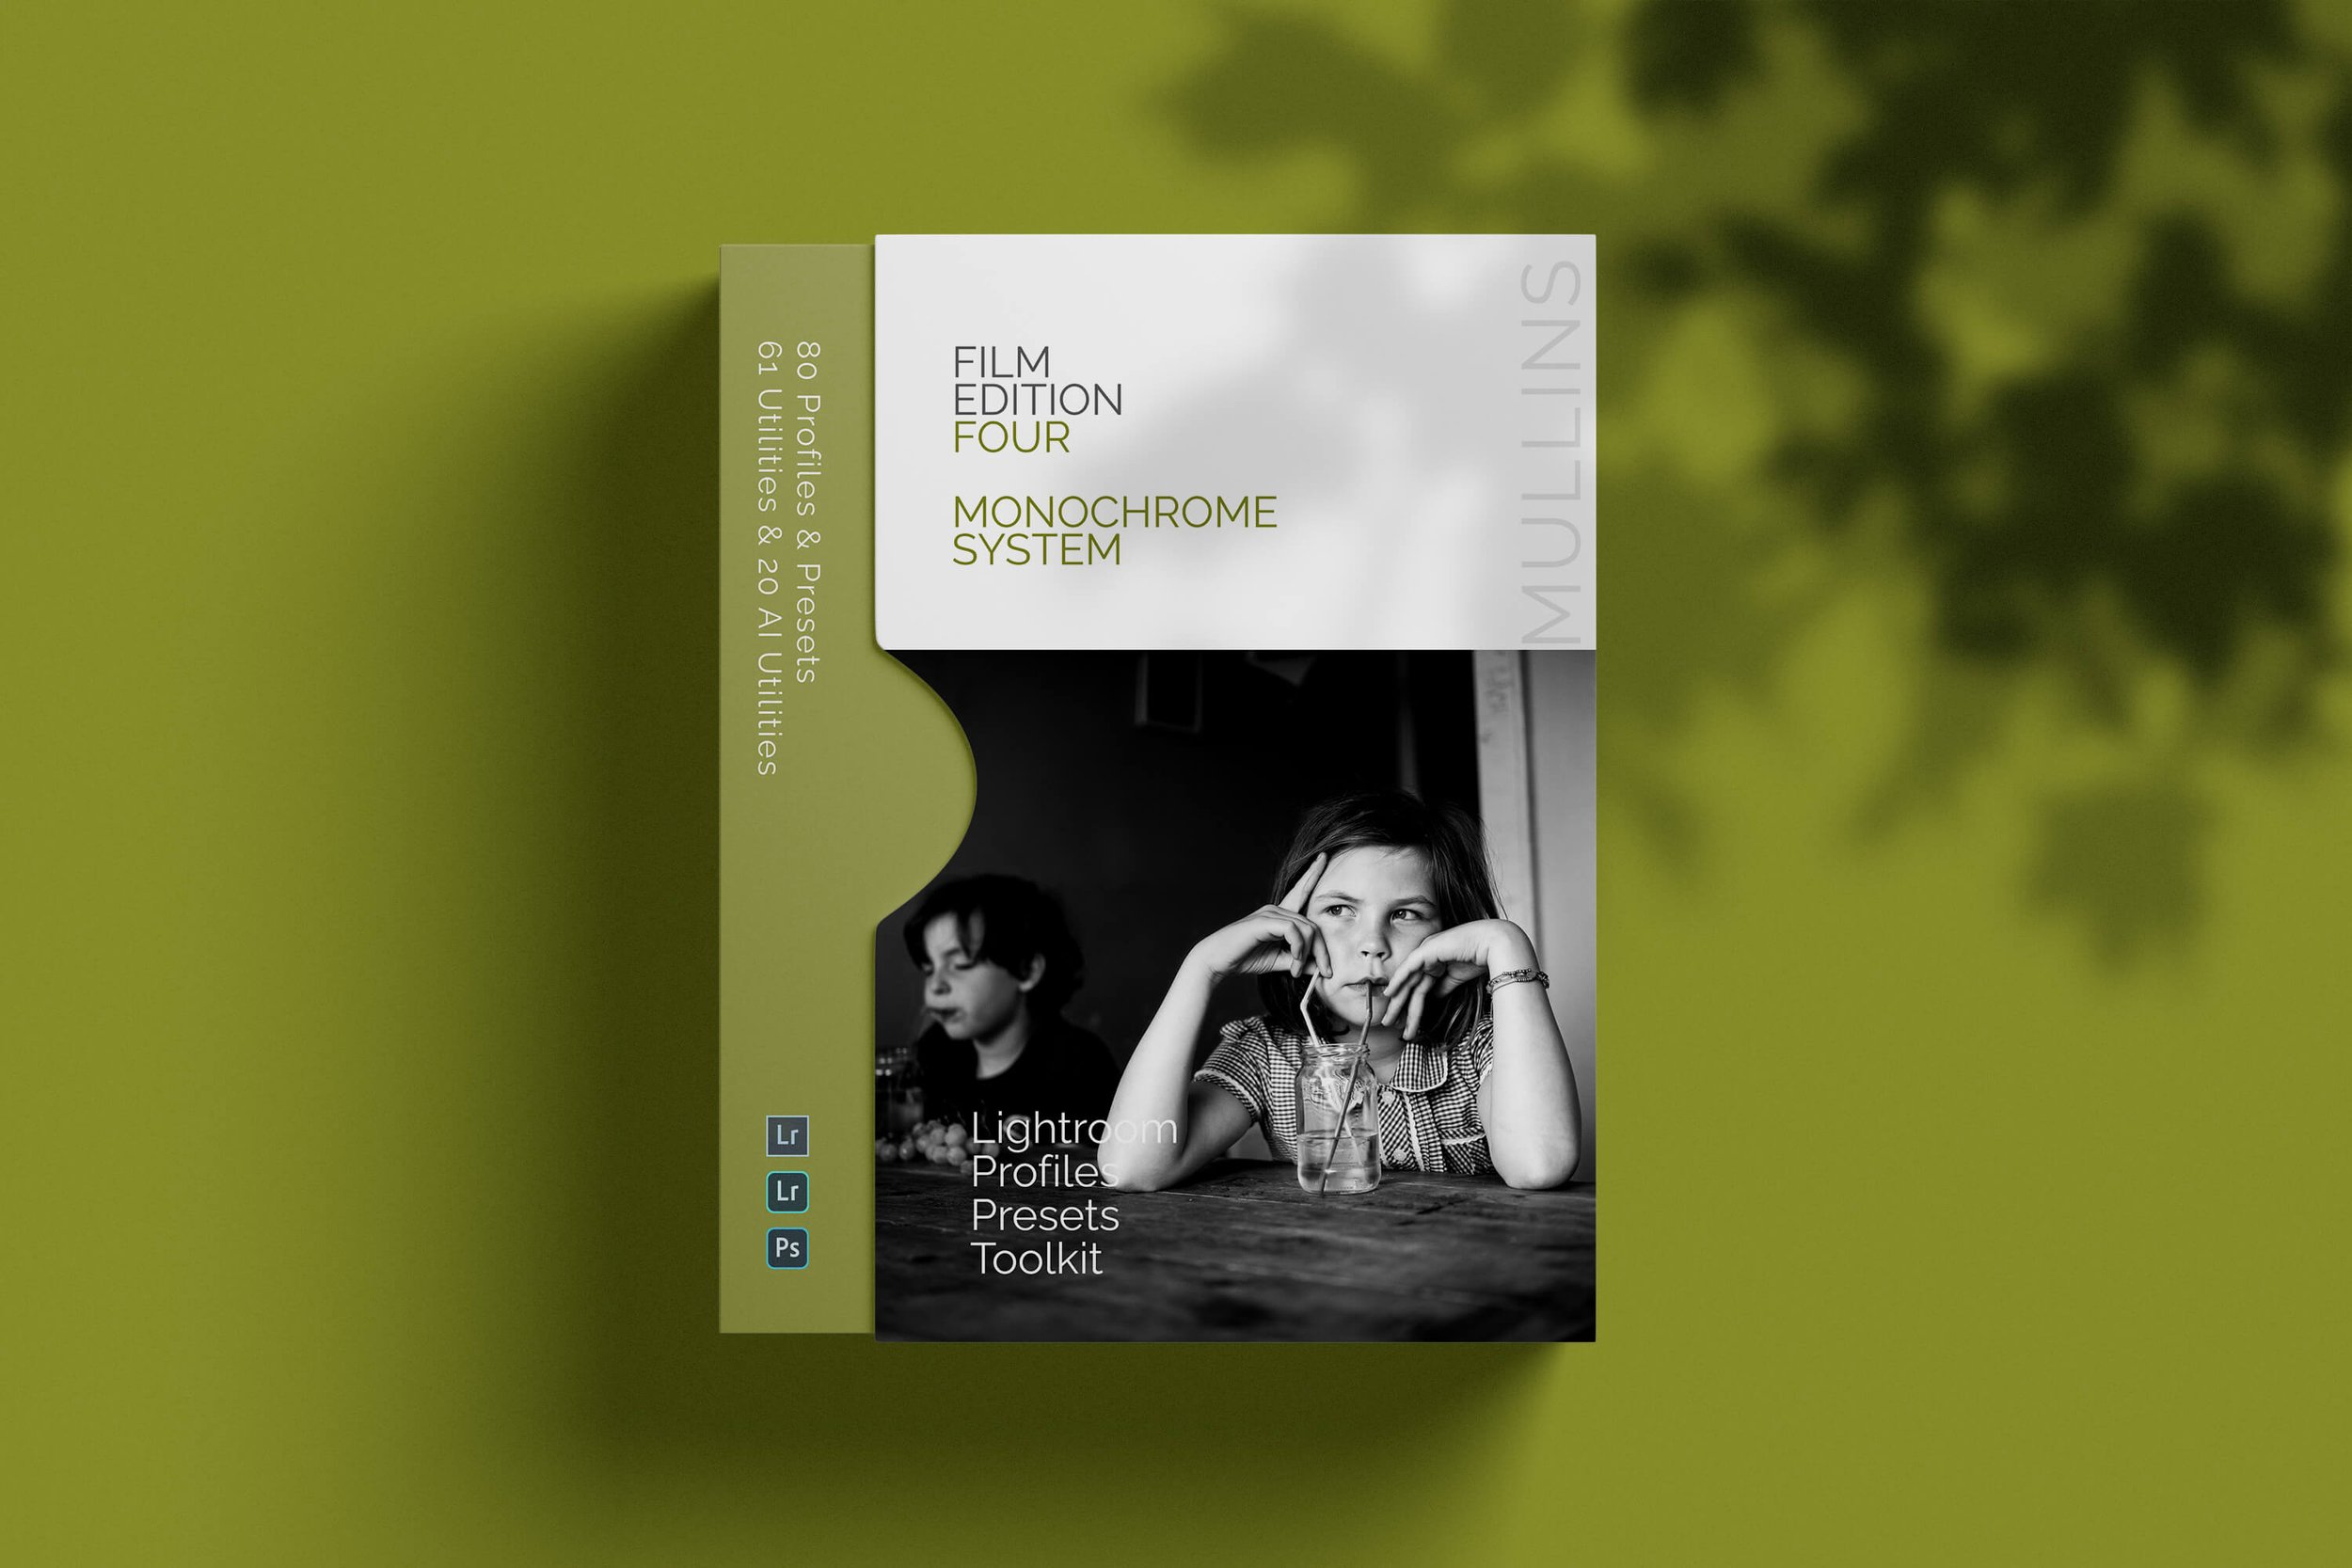
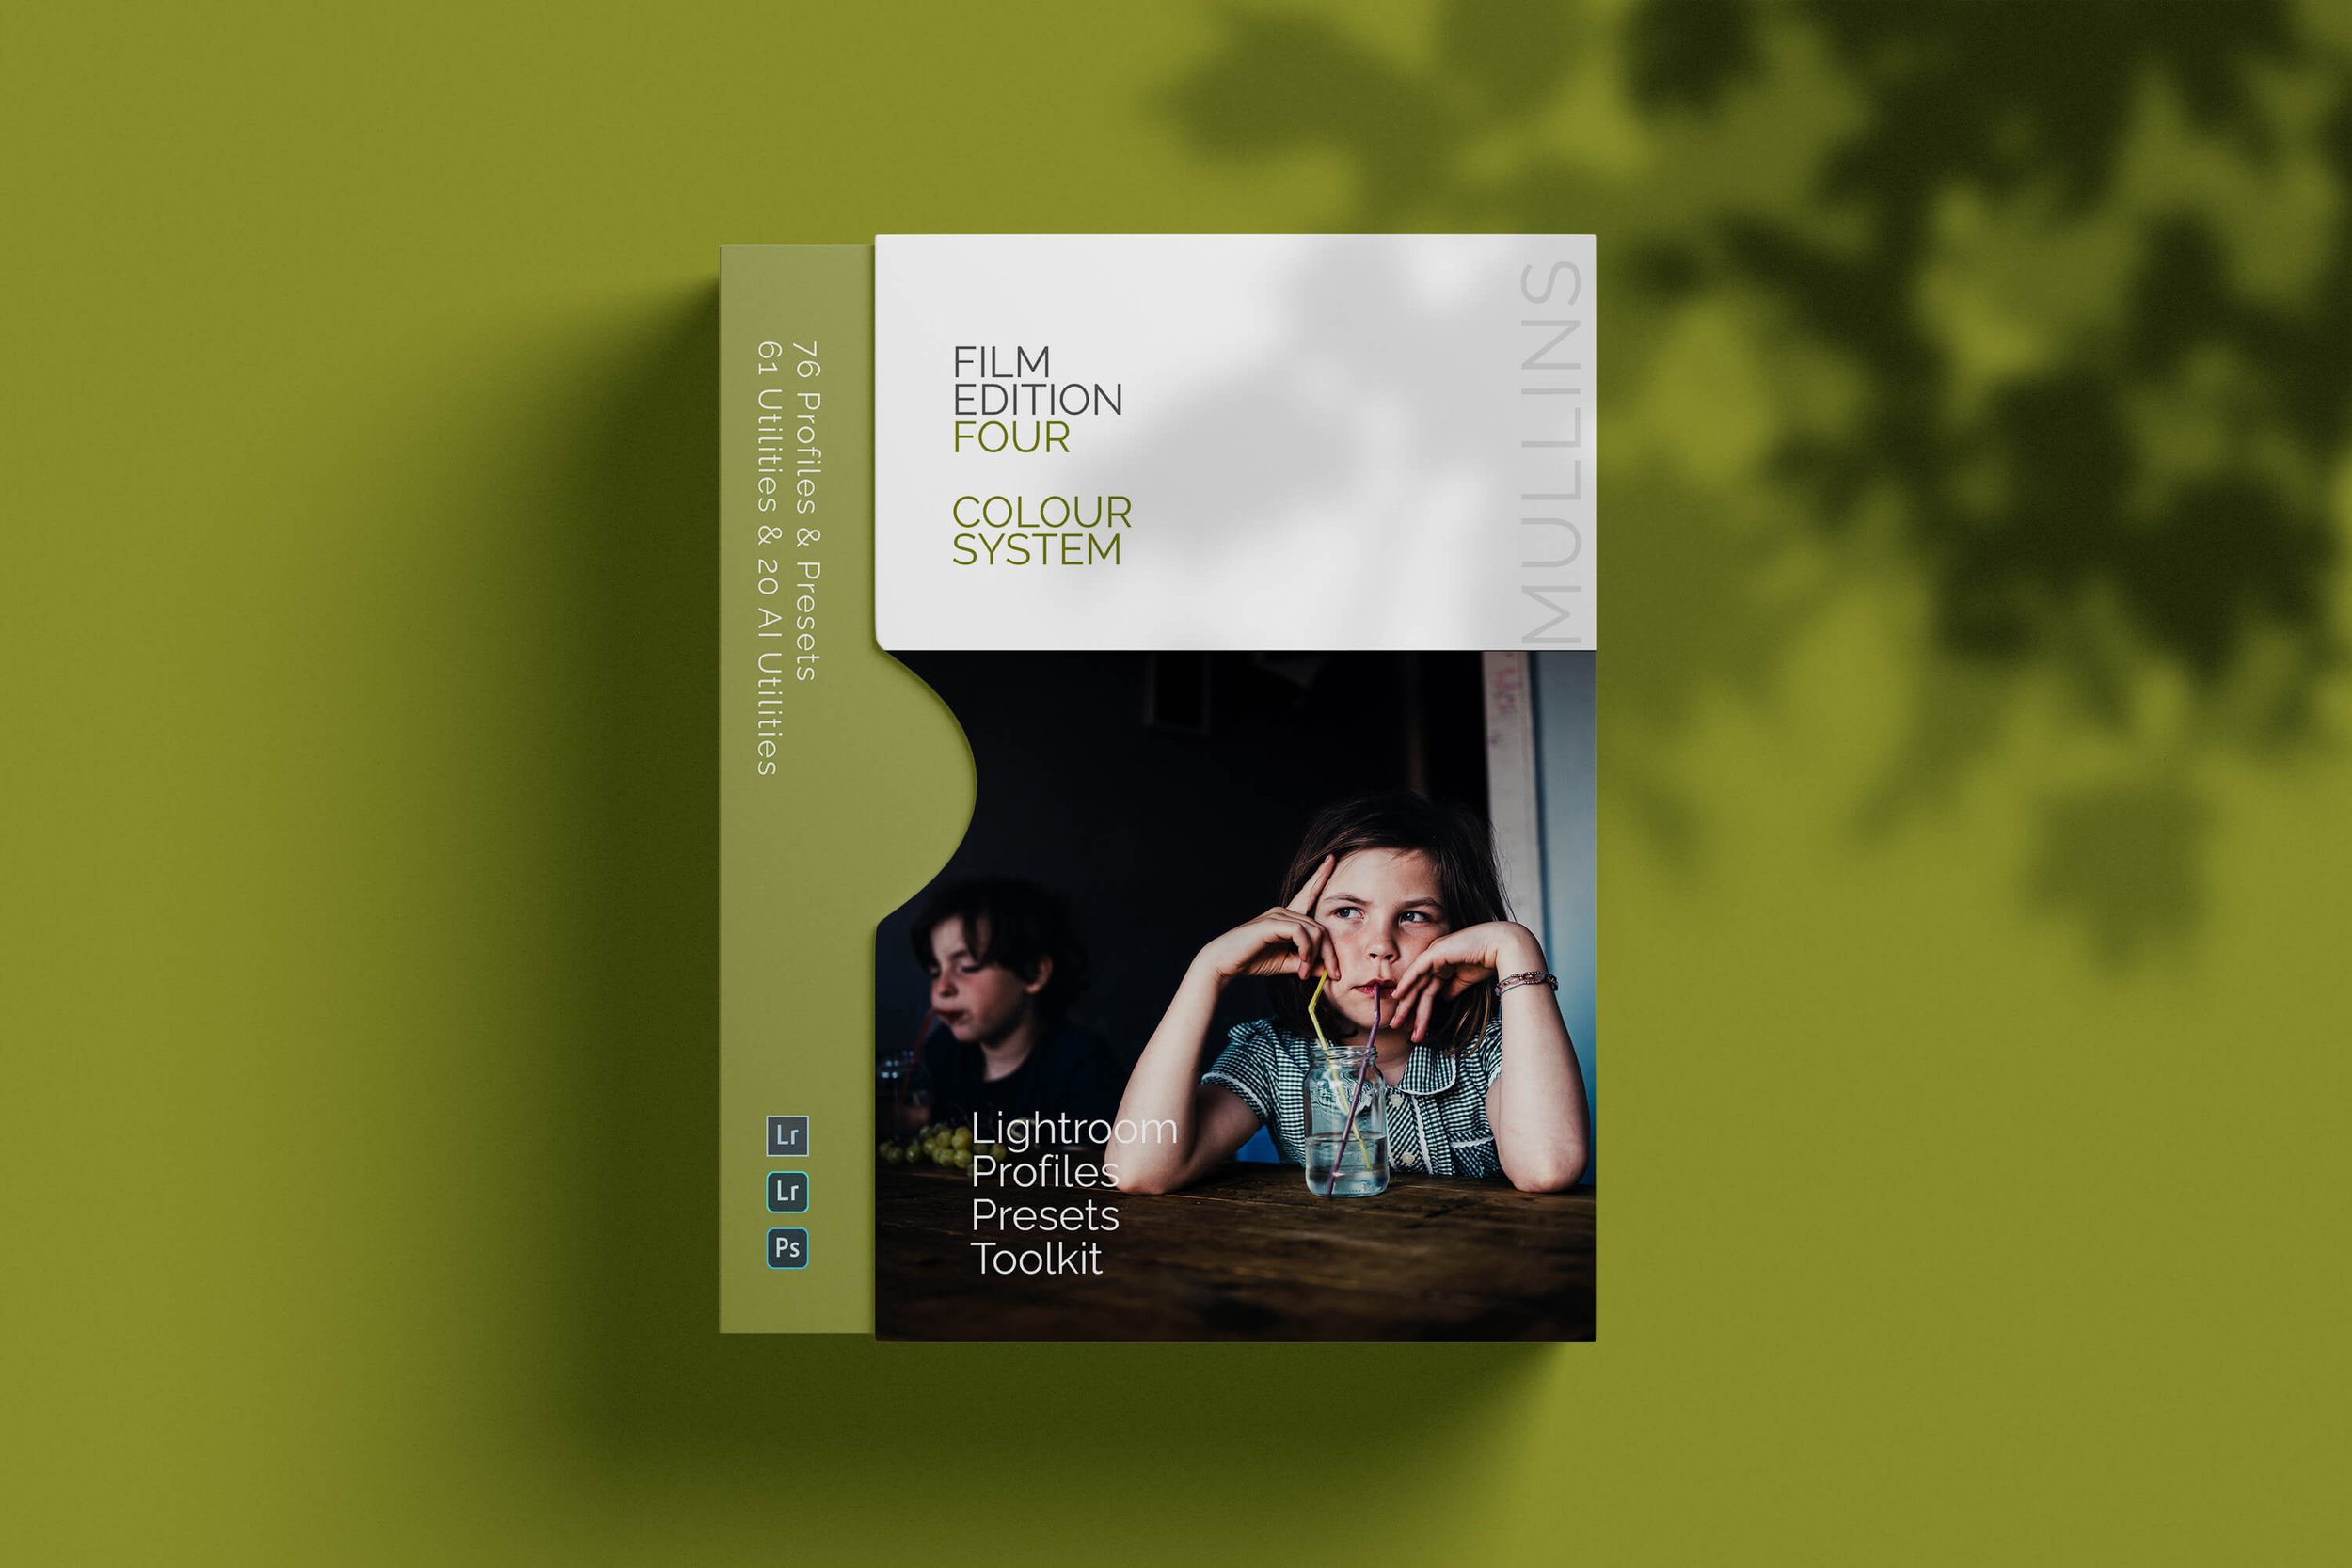
I have worked hard at creating a set of Lightroom based Presets and Profiles that emulate exactly how I produce my black and white images. The pack also has some colour bonus presets.


Possibly the question I get asked the most is about my Black and White Editing;
How do you edit your black and white images?
So I made a YouTube video demonstrating my technique of how I edit Fujifilm RAW files in Lightroom to Black and White.
I'm of course fully aware that this style is not to everybody's taste, and really, for me at least, it's been the way I've just "always done it". Right back from when I shot Canon, I would use a very similar technique to try and get a warm tone to the images.
There are a couple of things to that I should point out;
This is an edit of a RAW file. I actually shoot JPEG for a lot of my work but it's a clearer explanation to show this from a standard RAW file. I will add a video in due course with the JPEG edit.
As I mentioned in my previous video, I'm actually using Alien Skin Exposure X3 for a lot of my personal work these days. However, I'm still using Lightroom for my wedding work. This process though will be very similar in ASE.
Here is the video taking you through the entire black and white editing process.
It's on my YouTube channel and I would really appreciate it if you do like the video content, to like the video and subscribe to the channel also if you so wish.
I'll be putting a lot more content on there (and shared here of course) this year.
In summary of the video, the steps involved are pretty straightforward, but perhaps a little different:
Black and White Edit Step One - White Balance and Basic Corrections:
The first step with any image, even if it is going to end up as black and white is simple colour correction and exposure correction.
White Balance is just as important for colour images as it is for monochrome.
In Lightroom (Develop Module), you can use the White Balance Picker from the Basic panel or use the [W] shortcut key.
I'll often start this process by choosing the whites of eyes, or teeth. It's usually pretty neutral and close to the white point.

black and white
Black and White Edit Step Two - Use the Classic Chrome Camera Profile:
This is the step that gives me a bit of the density and punch in the monochrome images.
I know it sounds counterproductive to use Classic Chrome as that is a colour film simulation, however, if you watch the video I explain fully why I use it as the starting point for my monochrome conversions.

Black and White
Try it. Use the Classic Chrome film simulation (remember, this will only work against RAW files). Watch the shadows and how the overall tone adjusts.
Classic Chrome is my goto camera profile for colour but it's also my goto camera profile for black and white too.
Black and White Edit Step Three - Adjusting the RGB Curves:
The tone curve in Lightroom is very powerful and I use this to try and emulate the Shadow and Highlight settings I might set in camera (for the JPEGs).
I find using the point curve, rather than the default linear curve, gives me more control (see the video for how I do this).
It's easy to go overboard with the tone curve so try and make it subtle. However, this is really where you can define your own unique look if you want.

black and white
I normally use five control points on my tone curve, but you may use more or less. Five works for me and I think it gives me enough defined control over the density of the image.
Black and White Edit Step Four - Reducing the Saturation:
Next, of course, we need to make the images black and white.
I'll typically do this by just pulling the saturation slider all the way down to -100. This is basically just removing the colour that is in the image.
A simple step, but important of course for the monochrome conversion.

Black and White Edit Step Five - Split Toning (optional):
A creative use of split toning is how I achieve my warm look in my images.
It's very subjective, I totally get that. The split tone is key for my edit, but in the video I show you how you can use the ALT key to look for your own specific tone if you wish.
In the past, I used to just split tone against the shadows. I found using the highlights with the older sensor cameras was a bit garish. I guess now, with the X-Trans III sensors, the dynamic range is better and the split tone in the highlights is certainly more palatable for me.

black and white split toning
Obviously, the purple above is not the split tone I use, but you can use the tool to get very creative without losing any overall quality of the image.
According to TutsPlus :
Split toning is the process of adding different colours to the shadows and the highlights of an image. It can be used to create an emotional feeling or to replicate vintage film processing techniques.
My starting points for the Lightroom Split Tone Panel are:
Highlights; 29 Hue & 6 Saturation
Shadows; 40 Hugh & 10 Saturation
A key element of the Split Toning process is the balance slider. Just using the above values will not give you a finished tone.
In the video, I settle the balance slider on around -85.

black and white
Black and White Edit Step Six - Contrast (optional):
Using the Lightroom Reference view I can check my previously edited version to see if the process is close enough.
The element that is missing, is a little clarity and contrast. Again, this is totally down to personal taste but I typically add a little clarity and contrast to all my raw files - at least initially and back off if necessary.

black and white
Final Image
And that's it really. If you watch the video you'll see I do a small amount of radial filter burning on the image for most cases, this is the workflow that I'll do for my monochrome images:

I hope you found this useful. As I said many time through the video, this is just my style of editing monochrome images from RAW. It's totally subjective but a question I get asked a lot.
Any questions, please feel free to comment below or on the YouTube channel (and if you can subscribe there, I'd appreciate it too).
And Finally….. Are you a Wedding or Street Photographer?
I’ve spent the last year or so planning the first ever X-Weddings Conference. It will be in Bath, England on the 12th & 13th of June.
We have a top lineup of speakers and you can learn more by heading over to https://www.x-weddings.co.uk
Happy Snapping – Kevin (in my Kitchen at home listening to Albie fight The Dark Lord with his light sabers))