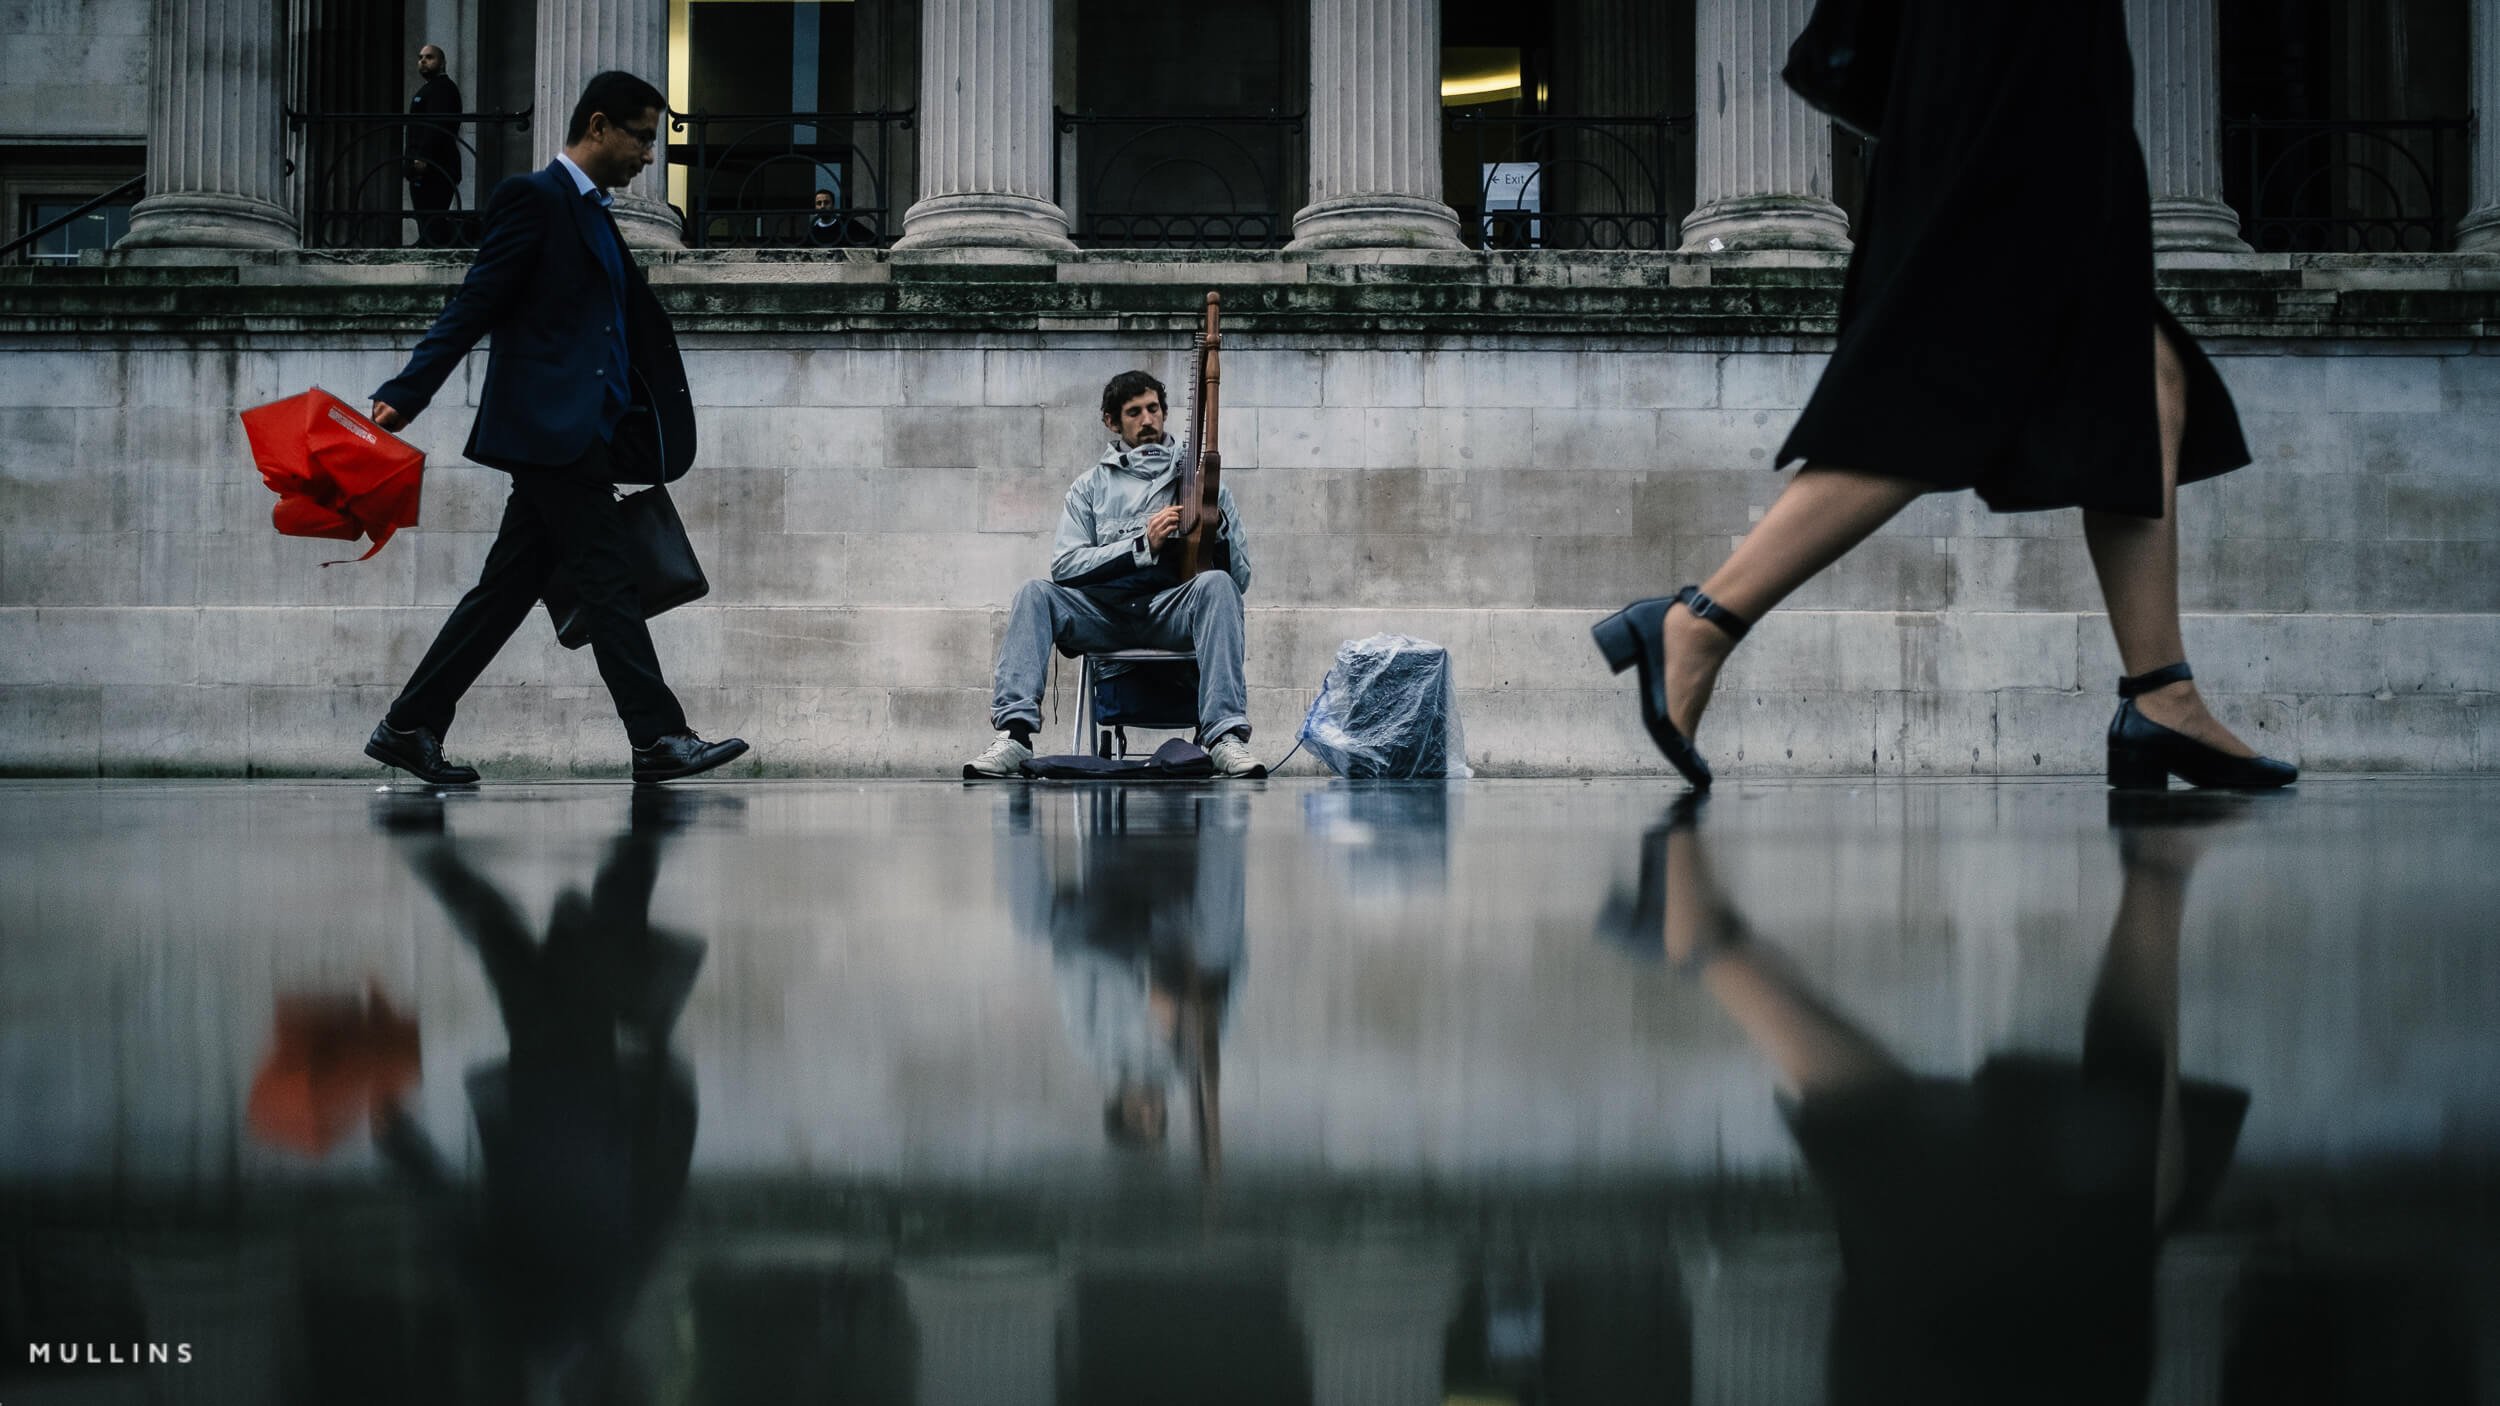
Ten Top Street Photography Tips
Ten Top Tips for Street Photography
Today, I’m going to share with you my top ten tips for street photography. These aren’t technical tips but rather the “rules of engagement” that I try to abide by.
Whether you're a beginner or have been doing this for a while, I hope these tips will help you capture those incredible, candid moments on the streets. So, let's dive right in!
The video is below, and the transcript and images are below that.
Street Photography Tip #1: Understand Your Environment and Enjoy Yourself
The first tip is to really understand your environment and enjoy yourself.
When I'm out shooting, I familiarise myself with the area.
This means understanding the light patterns during different times of the day and observing how people interact in that space.
Knowing your environment helps you anticipate unique moments and be at the right place and time. It's all about feeling the rhythm of the streets.
This isn't just about scouting locations but feeling the pulse of the street. I look for where the light falls beautifully during different times of the day or where interesting characters tend to gather. It’s about predicting where a story might unfold.
Remember, the more you understand the environment, the better you can capture its essence.
The great Joel Meyerowitz said:
“Think about photography as being a flexible medium that expresses dramatic content but also has the potential to reveal your emotions and a sense of the time you live in.”
And this is so true. But remember that for most of us, Street Photography is a hobby. It’s something we do for relaxation, for fun. It should be cathartic and not stressful at all.
A day out shooting on the streets often means I spend plenty of time simply people-watching, enjoying the walk, and grabbing a coffee.
Once I find an area I’m interested in, I’ll take time to explore it, and that doesn’t mean frantically shooting all the time.


Street Photography Tip #2: Be Respectful and Discreet
Tip number two is crucial: always be respectful and discreet.
Street photography involves capturing real-life moments, and it's important to do this without invading people's privacy. I use a small camera to be as unobtrusive as possible and avoid making anyone uncomfortable.
Remember, the best street photos are those taken with respect.
Street photography is intimate and real, and it's vital to approach it sensitively.
My rule of thumb here is to “never take photos of people doing something I would not be comfortable being photographed doing myself”.
Some people think Street Photography is a little nefarious and borderline creepy. However, it really shouldn’t be. We are recording history, and without us doing this, there would be no way of educating future generations about how things looked in the present time.
“The photographer is an armed version of the solitary walker reconnoitering, stalking, cruising the urban inferno, the voyeuristic stroller who discovers the city as a landscape of voluptuous extremes. Adept of the joys of watching, connoisseur of empathy, the flâneur finds the world ‘picturesque’.”
Susan Sontag, 1977
Don’t be afraid of making street pictures that tell a story, but always respect the subjects and the environment you are in.


Street Photography Tip #3: Light, Moment & Composition
Moving on to tip number three, light and composition are key.
The rule of thirds, leading lines, and framing are all tools at your disposal. I often experiment with different angles and perspectives to create more dynamic shots.
Remember, composition can turn a simple scene into a powerful photograph.
Composition can make or break a photo. I spend a lot of time fine-tuning my composition.
It's about more than just framing the subject; it's about balancing the elements within the frame to tell a story.
Sometimes, what you choose to leave out of the frame makes the image powerful.
Composition is a skill that takes time to develop, but it’s what elevates a snapshot to art.
Ultimately, only three elements make a good street photograph: Light, composition and moment.
The moment will reveal itself, but you are responsible for looking for compositions and working with the light at your disposal.
I'll often resort to reflections if the light is flat and miserable. I’ll concentrate on shadows and highlights if it's a bright, sunny day.
I created a video that explains why I always have my cameras in black-and-white mode, and I’ll link to that video below.
It’s a great way to train your eye to see the light and shadow and work with it to your benefit.


Street Photography Tip #4: Gear is not that Important
Tip number four is about using the right gear.
I prefer using a compact camera that's quick to focus. It’s less intimidating for those I photograph and allows me to blend in easily. But it's not just about the camera – the lens is equally important. A good prime lens can really make a difference.
Typically, I’ll use my Fujifilm X100V, X70 or X-Pro3 cameras, but which system you use is irrelevant.
I’ve made wonderful images using my mobile phone, and many professional street photographers use various systems.
However, in my APS-C world, I prefer to use systems with a fixed focal length, usually between 18mm and 35mm.
When I use zooms, I tend not to move around enough, become lazy, and don’t enjoy the shooting experience the same way.
There are plenty of cheap compact cameras you can get these days. You absolutely don’t need to spend a fortune to enjoy the art of street photography.


Street Photography Tip #5: Post Processing
The fifth tip is about post-processing.
Post-processing is where your photos come to life.
I spend significant time editing my photos to enhance the mood and feel. This involves adjusting exposure, playing with contrast, and sometimes converting images to black and white for a timeless look.
However, the key is subtlety.
My goal is always to enhance the photo without making it look unnatural. Remember, less is often more in post-processing.
Over-processed images can lose their authenticity, which is the essence of street photography.
Most modern cameras allow you to edit in camera or transfer images to your phone or tablet. I often take a break, review the images, and light edit on my laptop. It’s all part of the fun of it.
I’ll grab a coffee or a beer and reflect on what I’ve shot so far, edit a few and figure out what I will do for the rest of the day.
All the images in this video are edited with my new advanced Lightroom Profiles and Presets, which will work on your tablet, laptop or mobile device.
I’ve spent six months building this collection and use it exclusively for all my work. If you are interested in these presets, you can still get a 20 % discount using the code YT24, and I’ll link to them below as usual.


Street Photography Tip #6: Embrace Spontaneity and Patience
Tip number six is to embrace spontaneity and patience.
I’ve learned that the best moments often come unexpectedly.
It's about being at the right place and time and having the patience to wait for that decisive moment.
I often return to the same spot several times, waiting for the perfect interaction or light. Patience can truly turn an ordinary scene into something extraordinary.
Often, I’ll find an area with great light, set my camera exposure accordingly and wait for the moment.
I find that rushing from one place to the next often leads to frustration. I can very easily spend a whole afternoon or a whole day in the same place.
Usually, something comes along that I’m not expecting that can lead to an interesting photograph.
I'll still have my camera ready when I move between places, maybe on the tube. It’s never in my bag; it's always primed to shoot, as you never know when a moment will reveal itself.


Street Photography Tip #7: Play with Light and Shadows
Seventh tip: play with light and shadows.
I alluded to this earlier.
Light and shadow are pivotal in photography, especially on the streets.
I love experimenting with the interplay of light and shadows to create depth and emotion in my images.
Whether it's the harsh midday sun casting strong shadows or the soft golden light of the sunset, understanding and using light to your advantage can transform your photographs.
If the light is right, I’ll use my camera metering system to give me the right exposure for my position. And, if the light isn’t changing, I’ll dial those exposure settings manually, and I love looking for those moments where people move between shadow and highlight.
It yields a great feeling to the image.
To a certain extent, it doesn’t matter who or what the subject is; the light play is the photograph's focal point.


Street Photography Tip #8: Focus on a Theme or Project
Tip number eight is about focusing on a theme or project.
This gives your work direction. For instance, you could focus on capturing emotions, colours, or daily life.
A theme can bring coherence to your work and tell a story.
If you go out for the day with your camera with no objective, you will likely take too many pictures and be disappointed with the outcome.
I rarely shoot blind like that.
I always set my student's themes and projects in my street photography workshops.
This is super important, as understanding how a camera works is far less important than being a good observer.
Anybody can press the button on the camera, but only you can see what you want to see.
Being an observer is critical, and some of the themes I give my students are:
For the love of the money
Sense of the city
50s
Off the beaten track
My shop front
A curious place
Each theme allows the mind to wander and can be translated in any way. For example, the fifties’ theme allows people to look for shots that would not look out of place taken in the nineteen fifties.
A curious place encourages them to find areas not quite what they seem. You can use these themes yourself and see how you get on.
Essentially, don’t simply wander. Look. Looking and observing is key, and with a project or theme in your mind, you will focus your mind, enjoy it more, and have more keepers.


Street Photography Tip #9: Learn from the Masters
Studying the works of great street photographers can be incredibly inspiring.
Look at their compositions, their use of light, and how they capture the human element.
There's so much to learn from their work.
I spend hours looking at the works of greats like Henri Cartier-Bresson and Vivian Maier. Their use of composition, light, and moment has taught me a lot.
It's not about copying their style but understanding the principles that make their work timeless.
Street Photography Tip #10: Build a Narrative
And finally, tip number ten: build a narrative.
Think about the stories behind your images. Each photo should tell something about that moment, that person, that street.
It's not just about capturing a scene; it's about capturing a part of life.
Each photo should tell a story.
When I look through my viewfinder, I’m not just looking at my subject; I’m looking at the background, the environment, the emotions.
It’s about capturing a moment that says something about life, about humanity. It’s these stories that make street photography so compelling.
You may think, “OK, how do I tell the story of this street corner?”. In which case, bring the mid the five W’s.
Who
Why
What
Where
When.
Believe me; you can tell a story of the most benign scene in five photos if you remember these five Ws.
In my street photography workshop, I emphasise this throughout the day, and in every case, recalling the Who, Why, What, Where, and When mantra helps the students tell a story and build a narrative.
It’s very rewarding and, as importantly, a lot of fun.


Conculsion
I hope these insights inspire you to hit the streets with your camera and capture the world in its unscripted beauty.
Remember, the journey of photography is personal and full of learning and growth.
Don't forget to enjoy every moment of it.
Happy shooting!


