Film Recipe - Cinematic Colour (Classic Neg)
Give your Fujifilm photographs a Cinematic Look with my Cinematic Colour (Classic Neg) film simulation recipe, tailored explicitly for Fujifilm's X-Trans sensor cameras.
Cinematic Colour: Colour Film Simulation Recipe
Cinematic Colour
The Cinematic Colour recipe is designed to capture classic cinema's rich, vibrant tones. This recipe enhances colours and contrasts to create visually stunning images with a timeless, cinematic quality.
Fujifilm JPEG Settings:
Film Simulation: Classic Neg
Grain Effect: Weak/Small
Colour Chrome Effect Blue: Weak
White Balance Shift: R:-3 B:-2
Highlights: +2
Shadows: +1
Colour: -2
Sharpness: +1
Noise Reduction: -1
Clarity: +1
Description:
The Cinematic Colour recipe is ideal for photographers who want their images to have classic cinema's rich, vibrant tones. This recipe is perfect for various genres, including street, portrait, and landscape photography.
Settings Explanation:
Classic Neg: This film simulation provides a nostalgic colour palette, rich tones and subdued contrasts that evoke the look of classic film stock.
Grain Effect: Weak/Small: A subtle grain effect adds texture without overwhelming the image, giving your photos a gentle, vintage feel.
Colour Chrome Effect Blue: Weak: This effect enhances the depth and richness of blue tones without making them overly saturated, contributing to the cinematic look.
White Balance Shift: R:-3 B:-2: This shift towards cooler tones adds a subtle, atmospheric feel to your images, reminiscent of classic movie colour grading.
Highlights: +2: Increasing the highlights ensures that the brighter areas of your photos stand out, adding to the overall dynamic range and depth.
Shadows: +1: Slightly deepening the shadows adds contrast and richness, creating a more dramatic and engaging image.
Colour: -2: Reducing colour saturation slightly ensures the tones remain rich and cinematic without becoming overly vibrant.
Sharpness: +1: A slight increase in sharpness ensures that details remain crisp, maintaining the high-definition look of modern digital cinema.
Noise Reduction: -1: Minimizing noise reduction maintains the natural texture and detail of the image, avoiding any smoothing that could detract from the cinematic feel.
Clarity: +3: Boosting clarity sharpens mid-tone contrasts, enhances textures, and gives your photos a more defined, three-dimensional quality.
Artistic Reasoning:
This recipe is perfect for those inspired by the timeless beauty of classic cinema and looking to infuse their photography with a similar aesthetic.
Whether you're capturing the vibrant streets, the expressive faces of your subjects, or the breathtaking beauty of nature, Cinematic Colour will help you create rich, dynamic, and visually stunning images.
NOTE: Some settings may not be available on every Fujifilm Camera
Cinematic Colour: Colour Film Simulation Recipe Film Simulation Recipe (Sample Images)



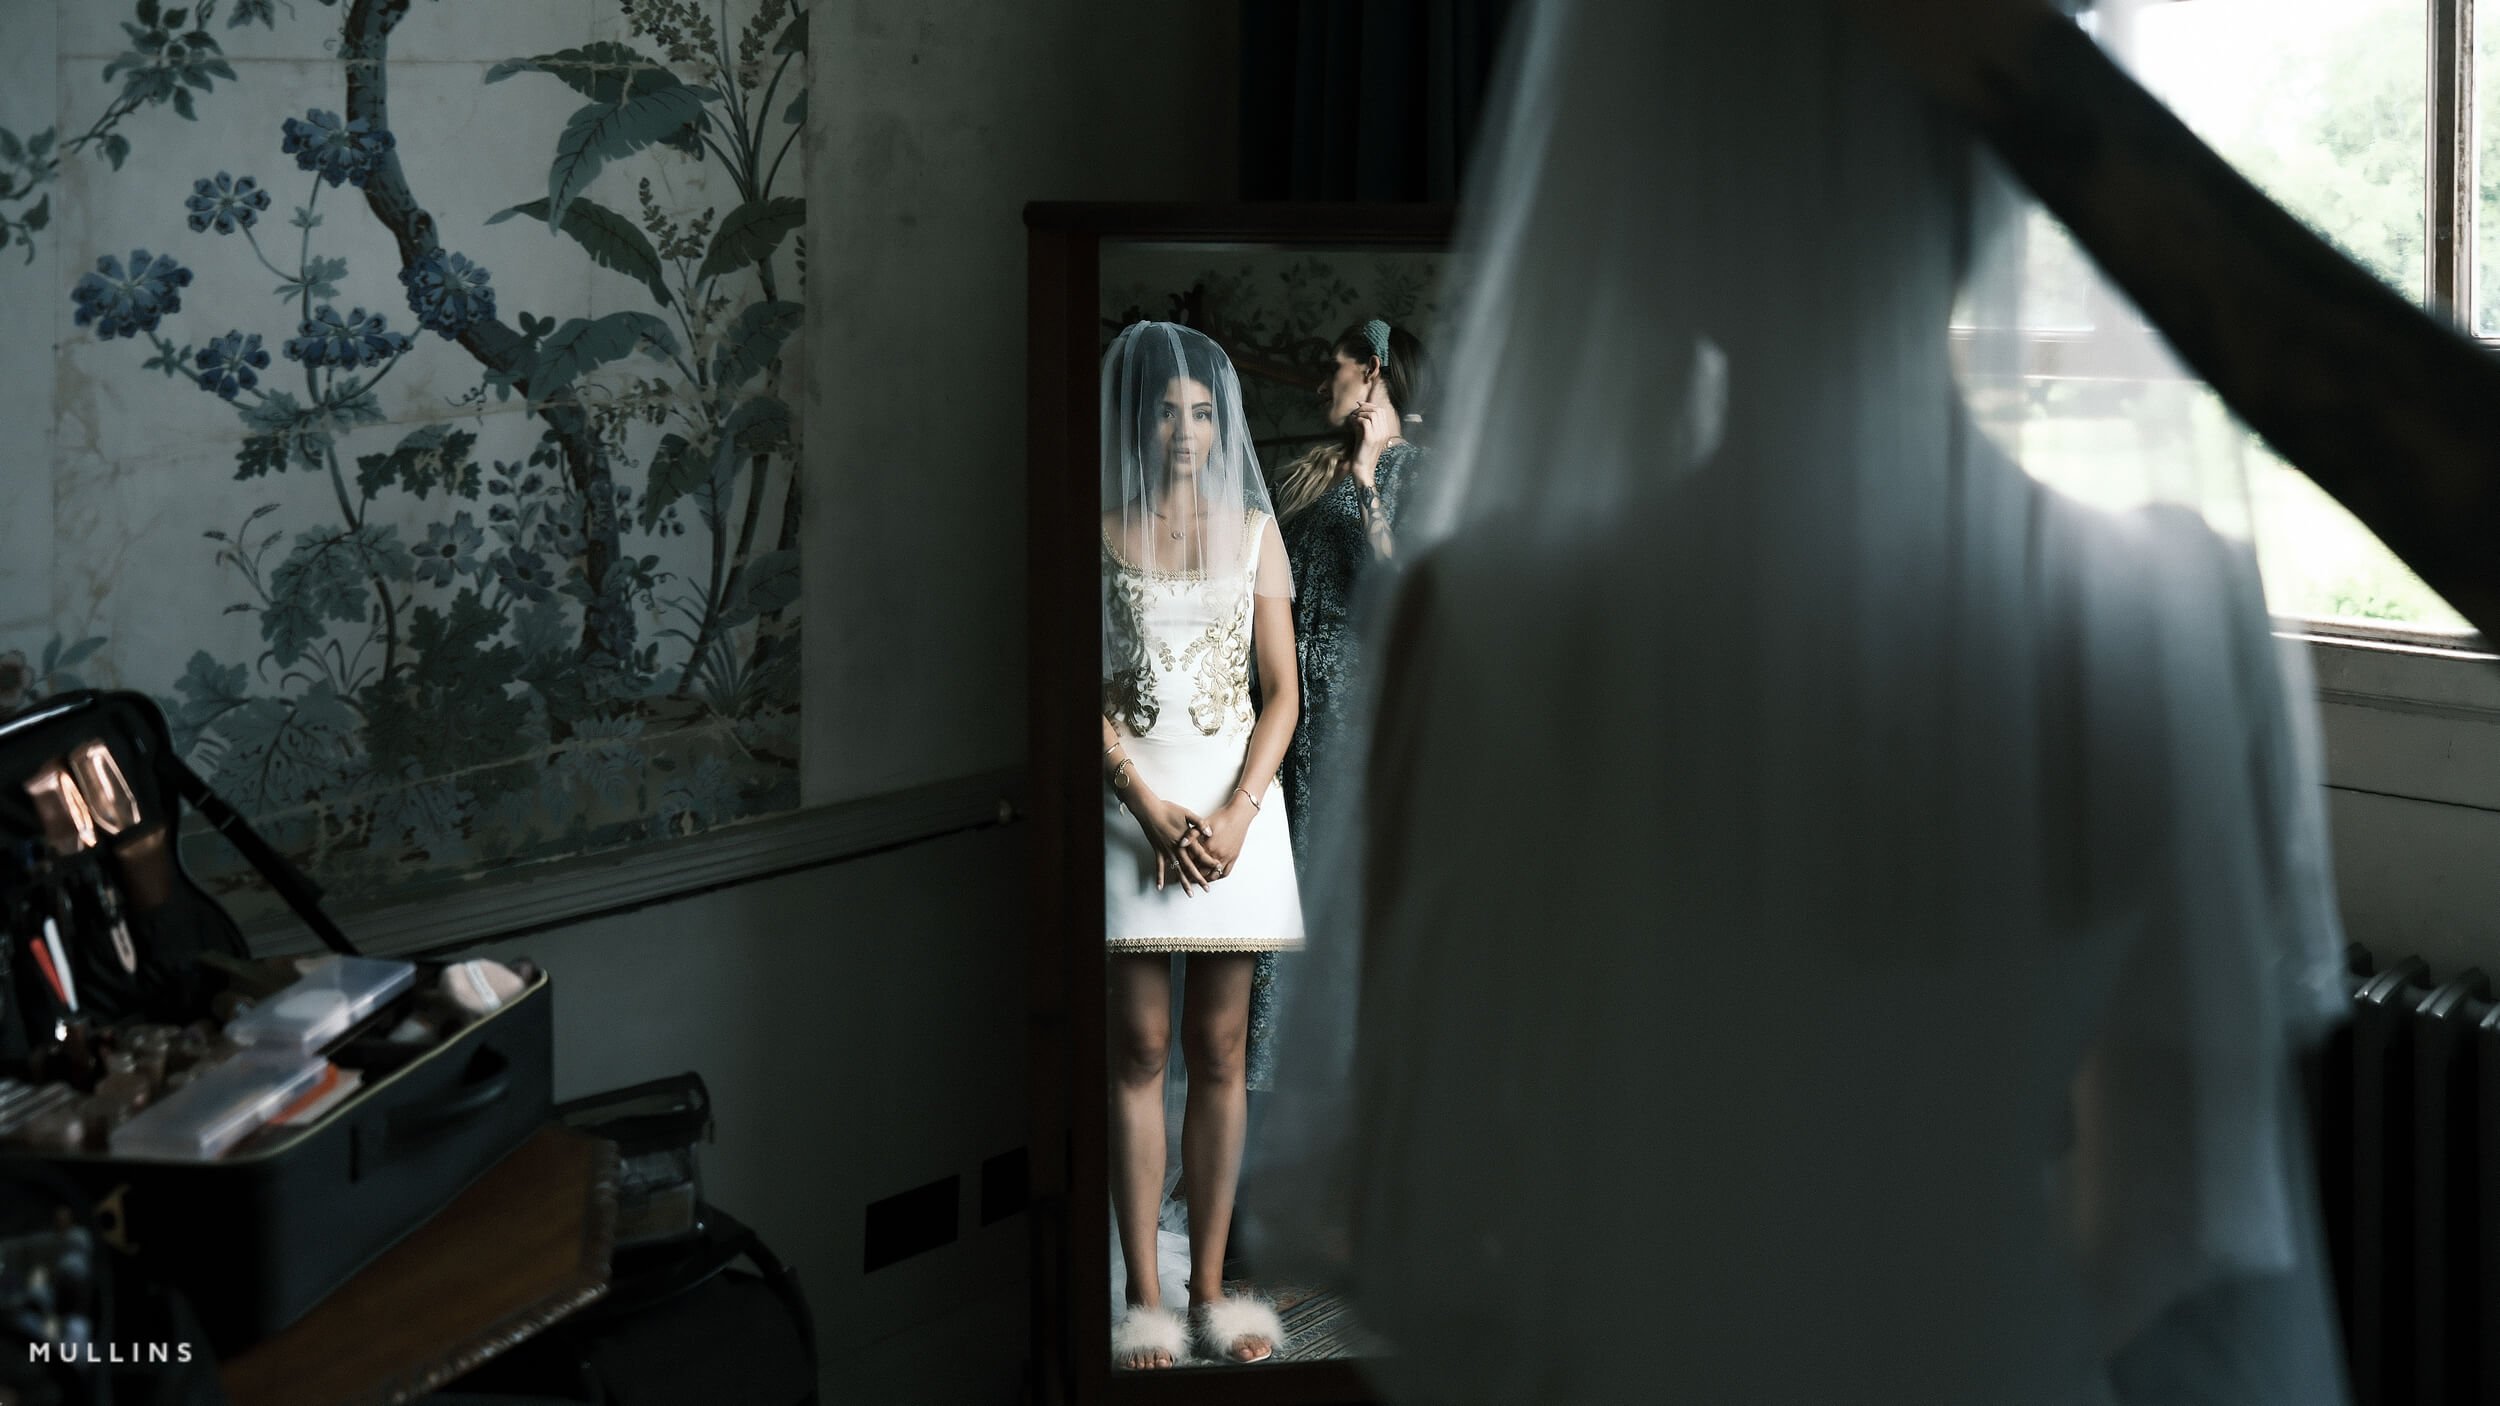
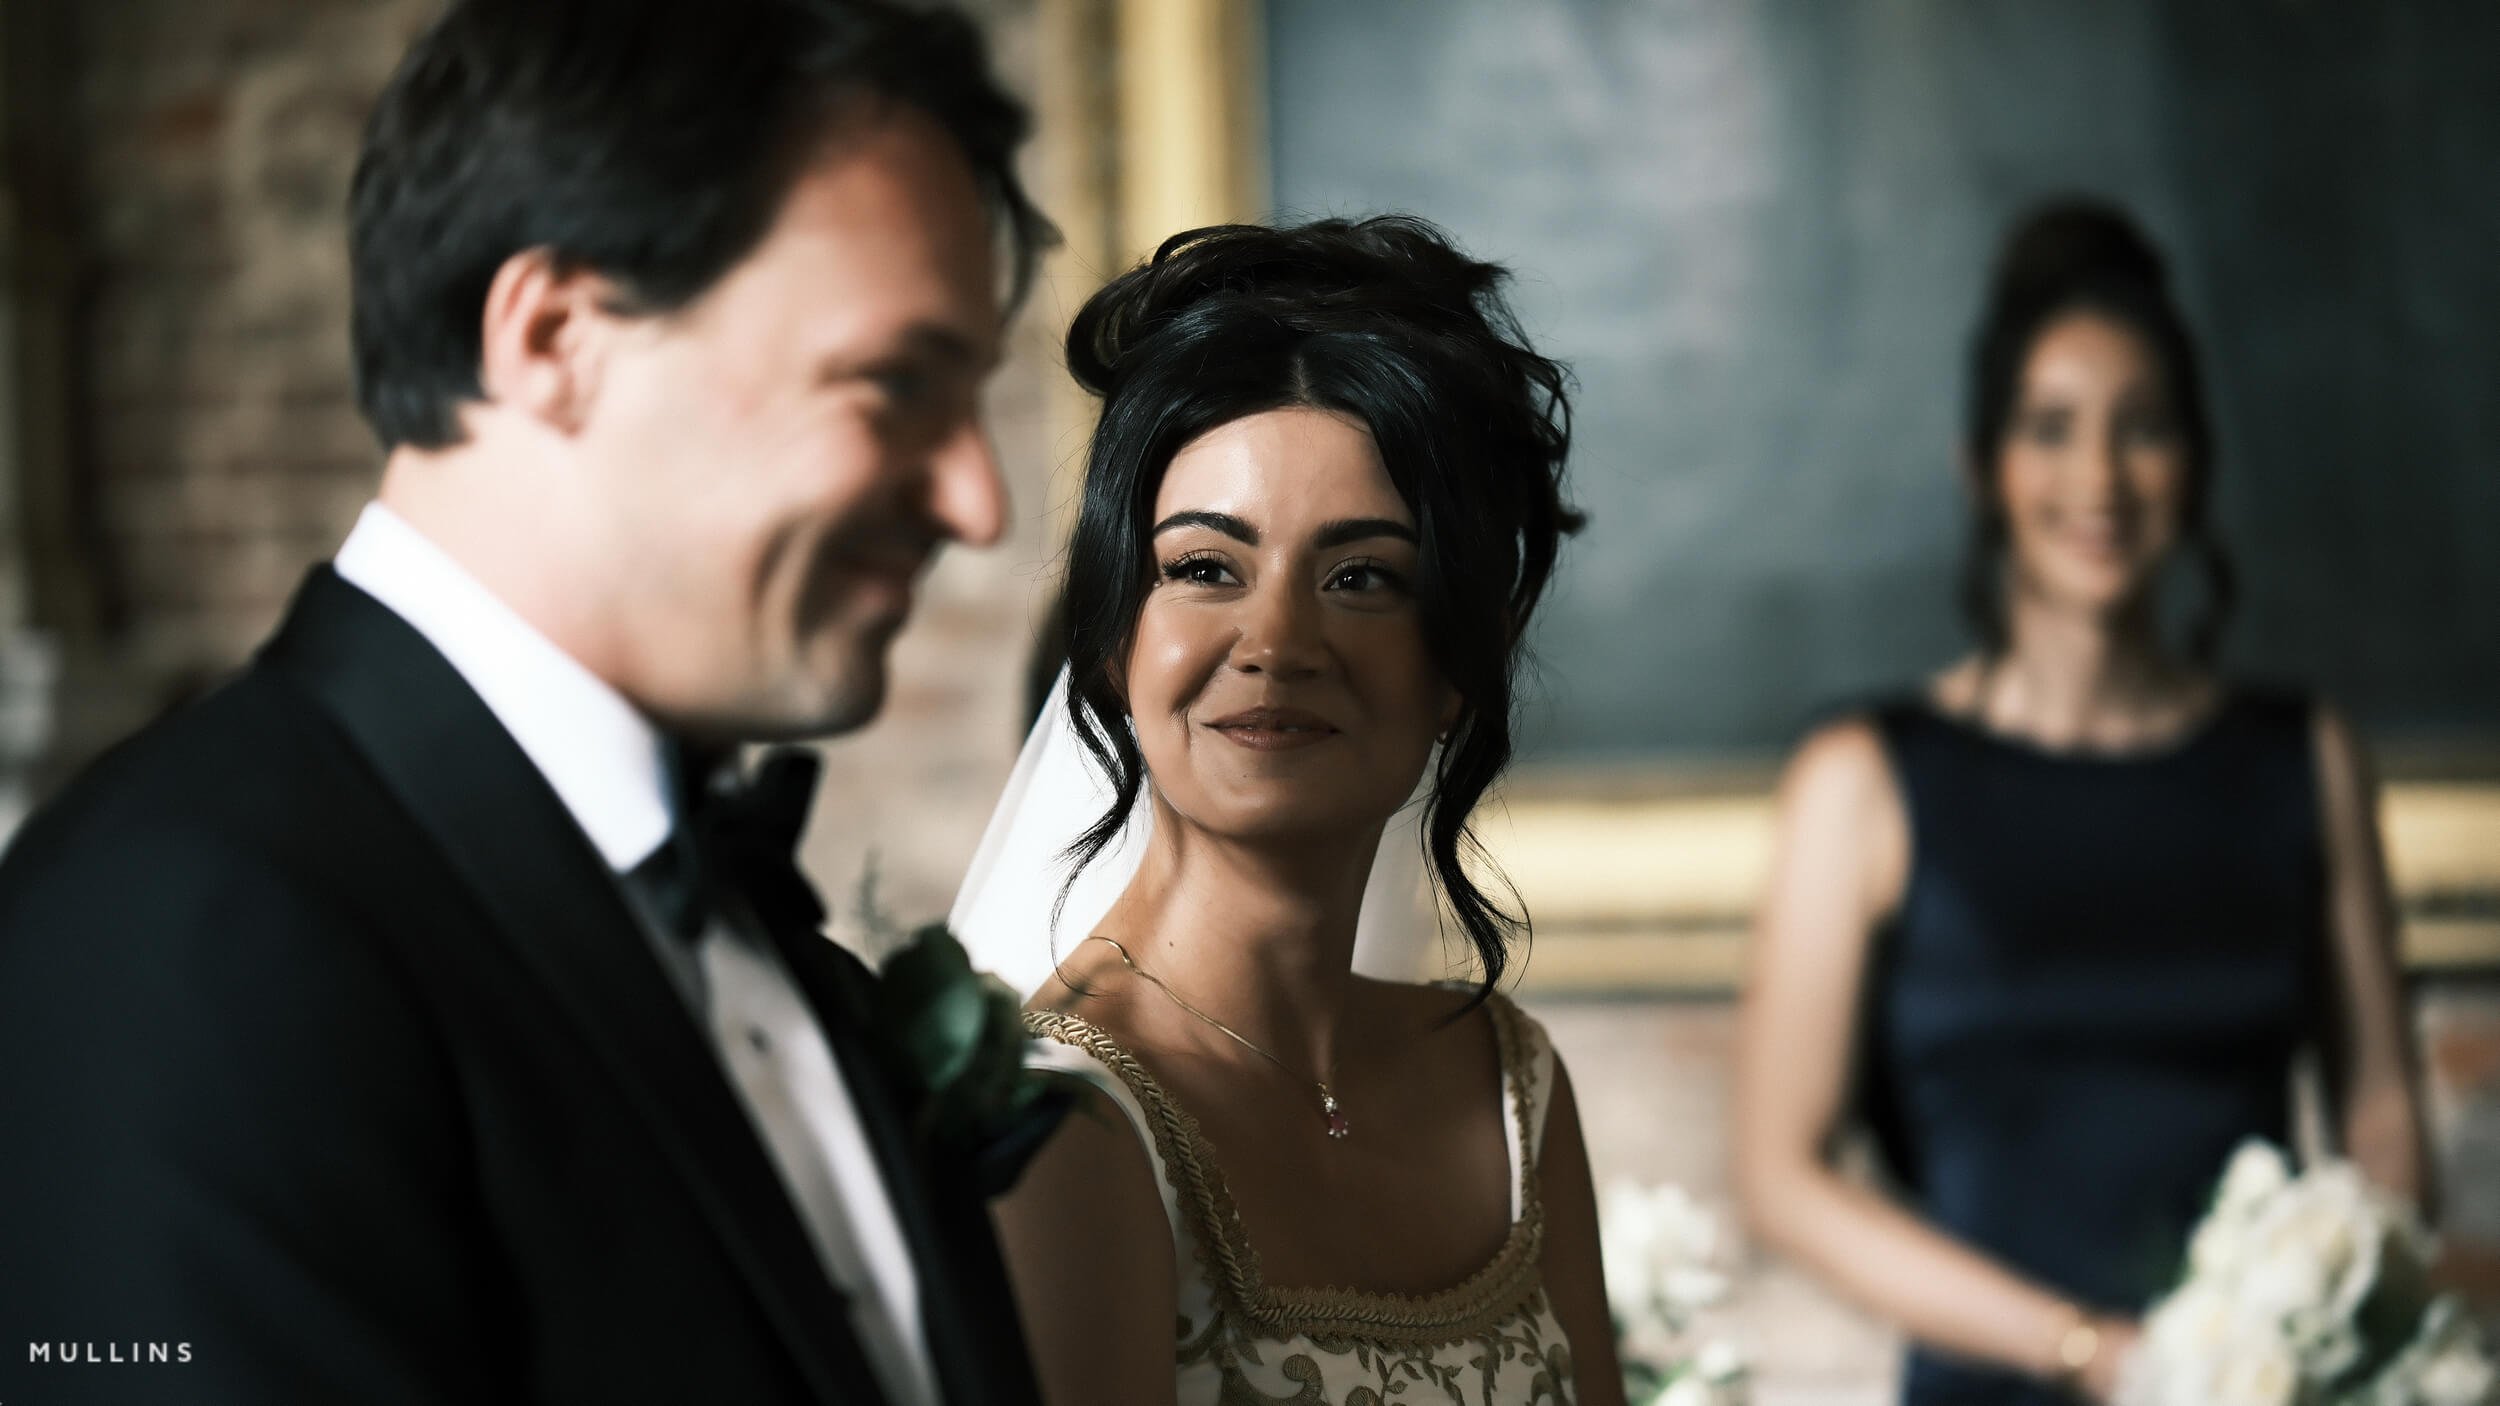




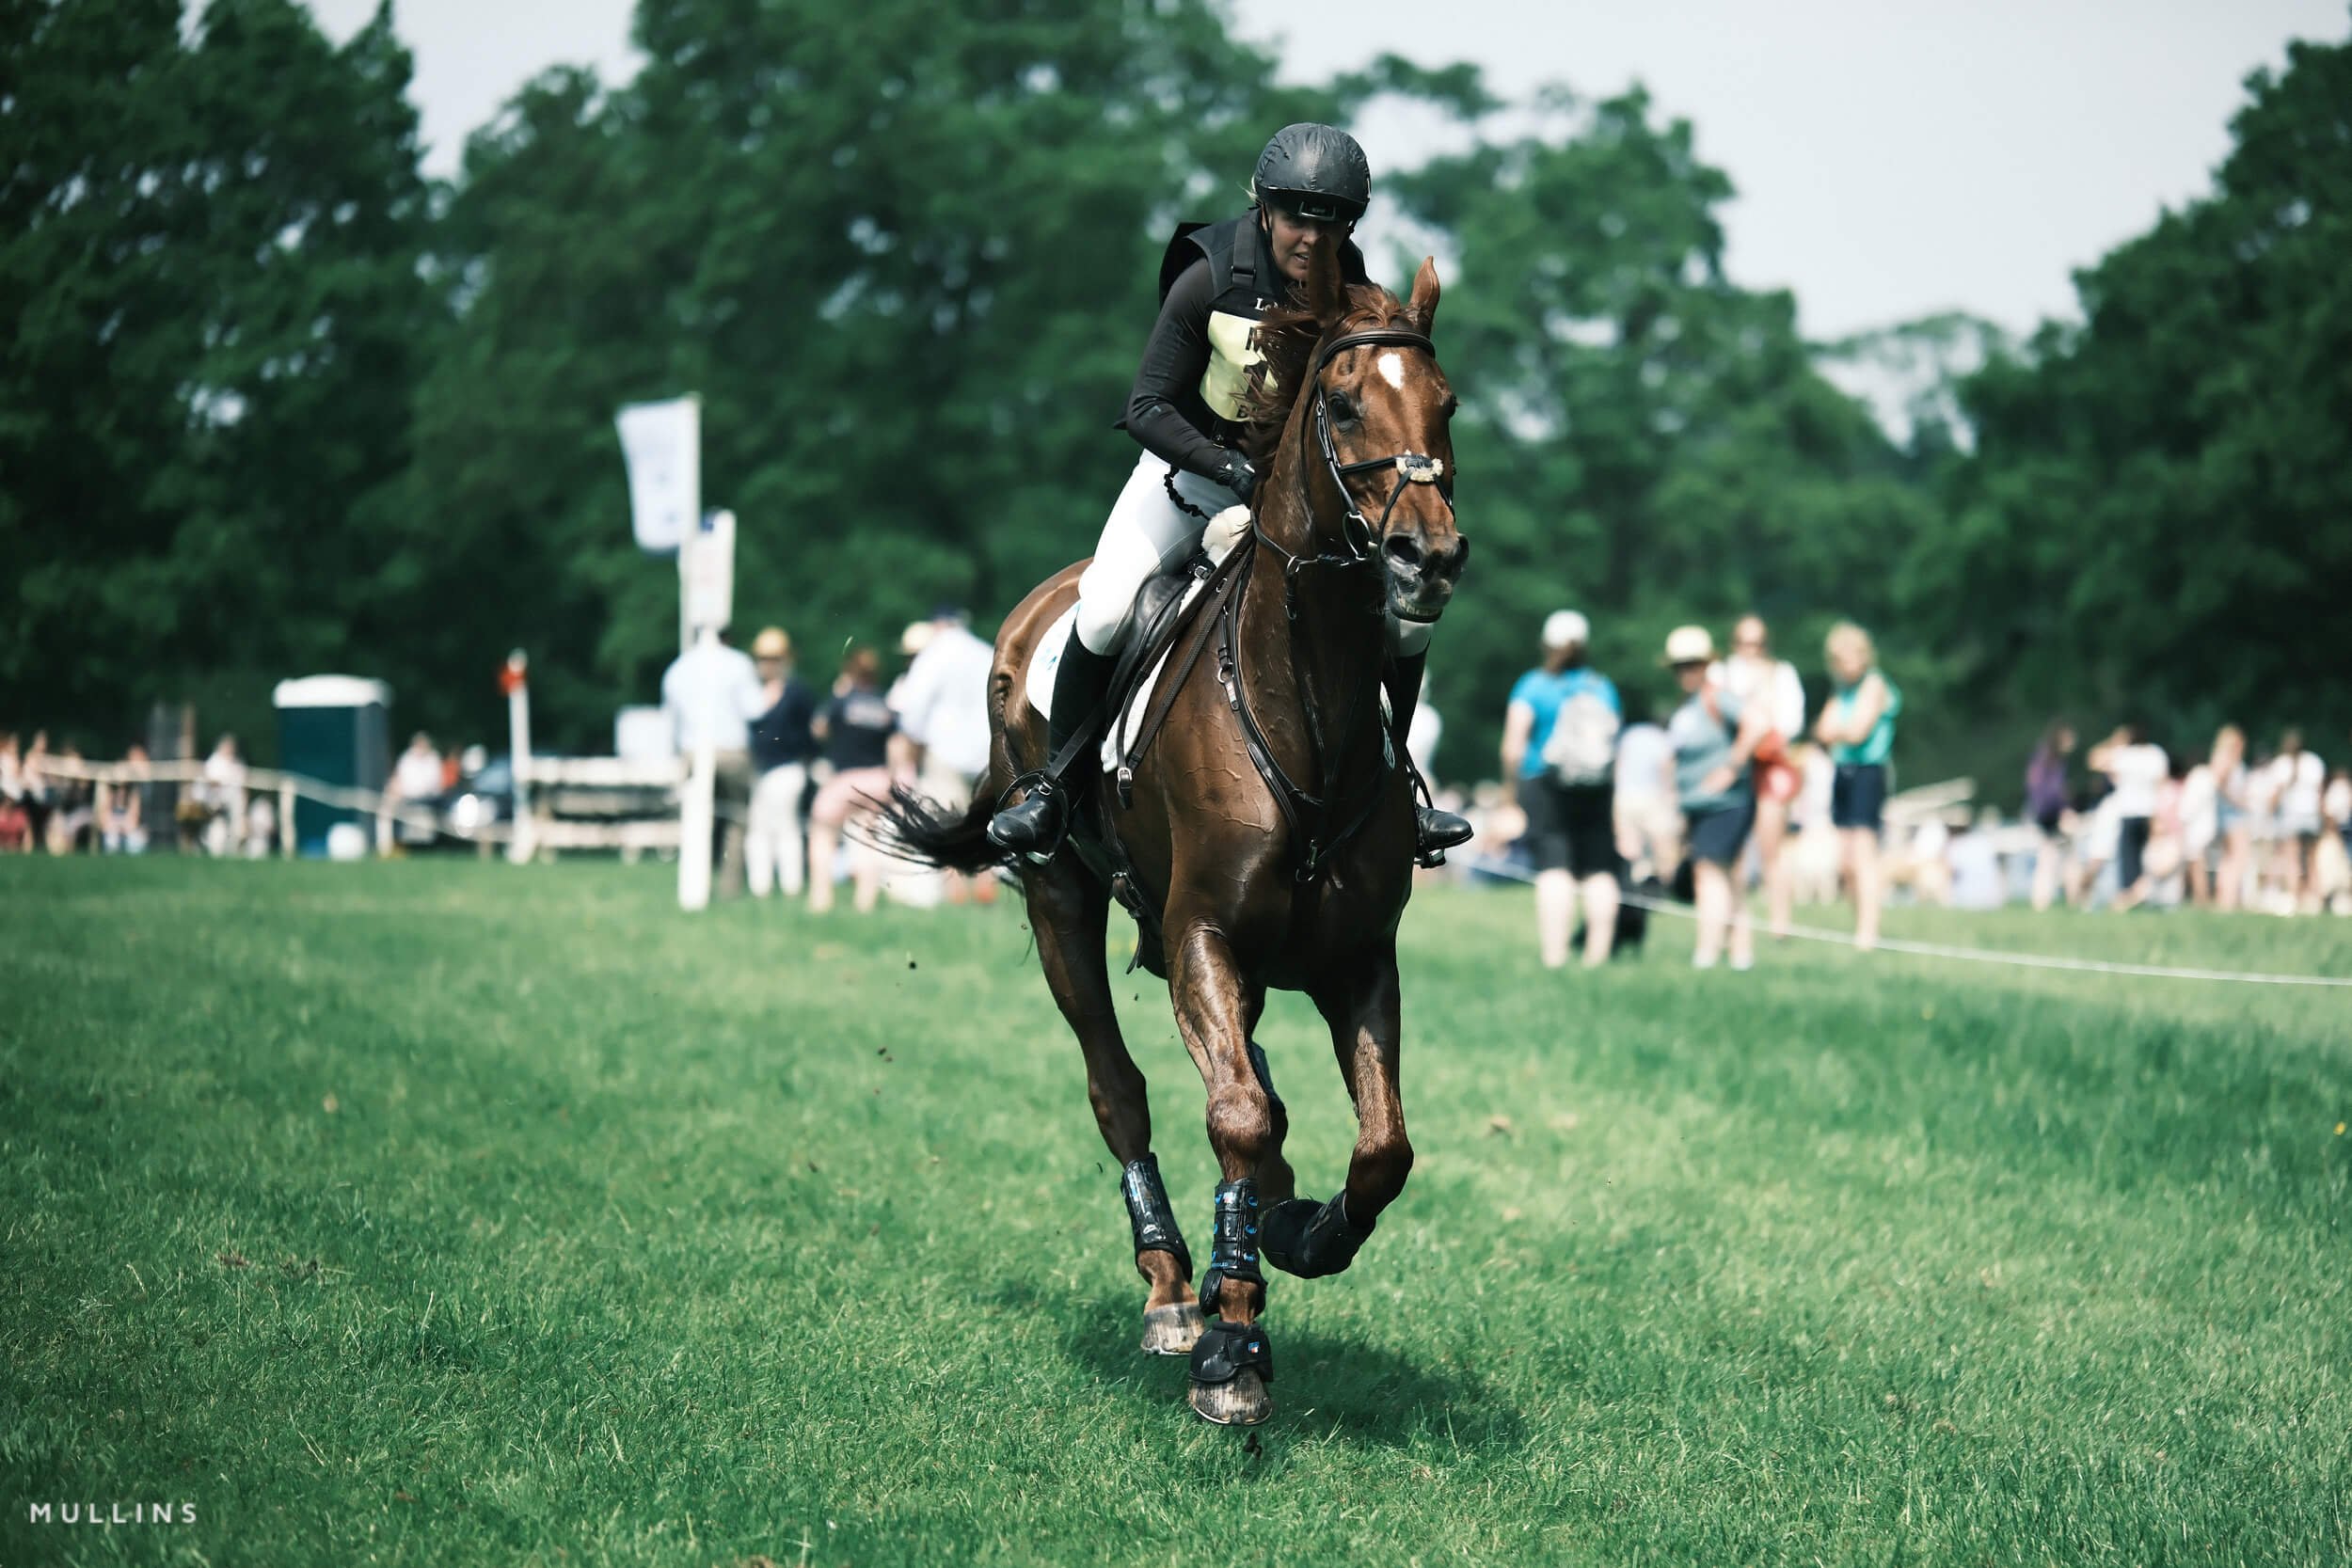
If you prefer Shooting RAW:
Those of you who prefer to shoot RAW and edit with the more advanced latitude this gives you may be interested in my current set of Professionally designed profile-based Lightroom and Adobe Camera Raw Presets.


